When you learn how to sew, one of the first projects to tackle is a pillowcase. Everybody loves pillows so they are both practical and decorative. At first glance, a pillowcase seems simple to sew. It’s just four straight lines. However, in order to get the stuffing into a pillow, you need to leave a hole for it. Then, that hole needs to be closed. The problem, as you will quickly gather, is you can no longer simply sew it like you were before stuffing. How to close a pillow with a sewing machine is the next logical question. After all that hard work, you want to be able to have a finished pillow that looks as good as a retail one. The good news is that this article will help explain exactly how to accomplish this task. With just a bit of patience, you’ll have an amazing, finished pillow Trusted Source Throw pillows: Your most important home accessory. Throw pillows may be the most important home accessory you can own. Pillows provide pops of color, texture and luxury on a small budget. Because the price tag is low, they can be traded out for the season or trend changes. stagingandredesign.com for everyone to admire.
While it comes to the simplest way to close a pillow, you could just sew across the hole. While this is not the most elegant design, it is effective if you are short on time, patience, and skill.
When sewing your pillow, be sure to sew the three sides like normal. Then, when you move to the fourth side, sew about a third or half of the way before stopping. The opening has to be large enough to fit the stuffing inside.
Turn your pillowcase right-side out. Then, stuff your pillow. You will be left with an opening that now needs to be closed. Again, this isn’t the most elegant way, but you could simply turn the edges inwards so there are no stray threads and sew across. You will be able to see the edge but if you don’t mind, then this is definitely the simplest way to go.
Having to worry about how you can close your pillow is not necessary thanks to these simple methods.
 This may seem like a bit of a cheat way to close a pillow and it is, but in a good way. If you’re stuck on exactly how to close a seam with a sewing machine, the best way is to not do it. Instead, simply create a pocket closure.
In essence, you will make an overlapping flaps of fabric that are placed at the back of your pillow. The flaps are large enough that you won’t see the inside stuffing, and should be seen as more of a decorative accent.
To accomplish this feature, make sure the open parts of the flap are properly hemmed. You can also use a serger sewing machine for a neater finish. This way there are no loose threads and everything looks put together.
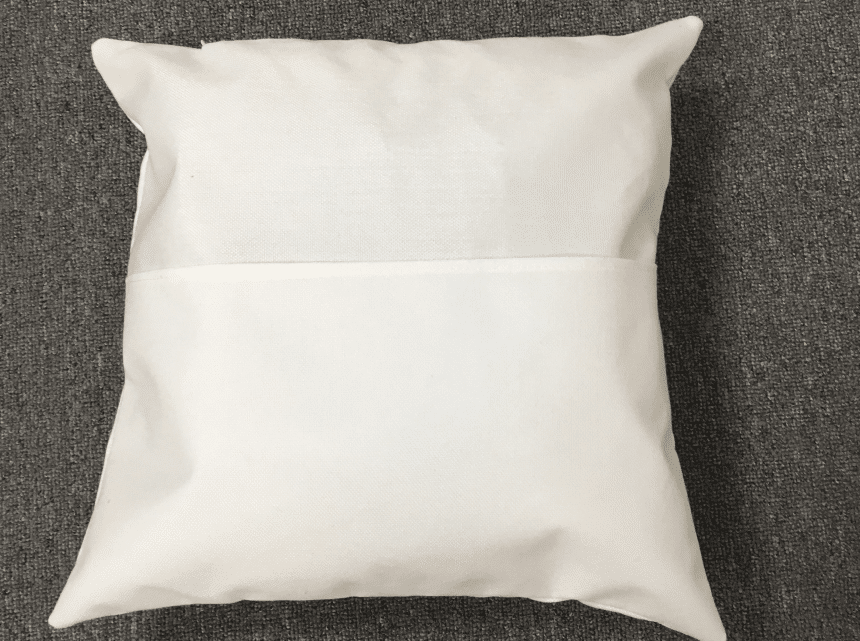
 An envelope closure is another popular method and is quite common because it creates a finished back of the pillow. Furthermore, it allows you to remove the inside stuffing, just in case you want to clean your pillowcase or swap out the stuffing for a different fabric design.
While the front panel of the pillowcase should be one piece of fabric, the back will be in two pieces. The flap should be about a third of the width of the pillowcase. Fold each part of the fabric and iron them, then place them near each other. The hem should be on the inside part of the fabric.
Next, pin all the pieces together so it looks like how a pillowcase will look. Go around with your sewing machine, connecting the three pieces of fabric. Remember to sew inside-out.
Once the edges are sewed, flip the pillowcase right-side out. The result should be a front that is smooth and a back that has a small envelope closure that can be parted. This is where you will place the stuffing.
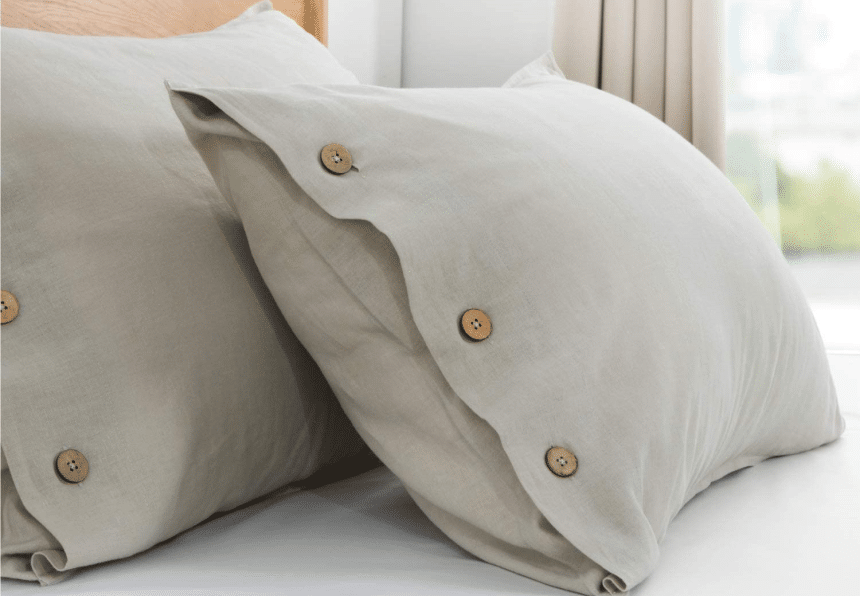 Buttons are definitely useful, and the inclusion of one button can make a huge difference when it comes to closing a pillow.
For this method, you will want to give yourself an extra 2 inches of fabric on the back side of your pillowcase. Again, you similar to the envelope closure, the back part of the fabric needs to be cut in two. This is usually done a third of the length to provide a bit of a decorative accent.
Be sure to hem both sides that will open at the closure. Then, use your sewing machine to make buttonholes so there are no loose strings. Any good, intermediate sewing machine will allow you to easily create buttonholes.
Finally, match the buttons with the holes on the other part of the opening so they line up properly.
Once done, sew the panels together and flip them right side out. The result will be a pillowcase that is easy to stuff as well as looks unique. You can even mix things up and include two different fabrics that are held together by the buttons.
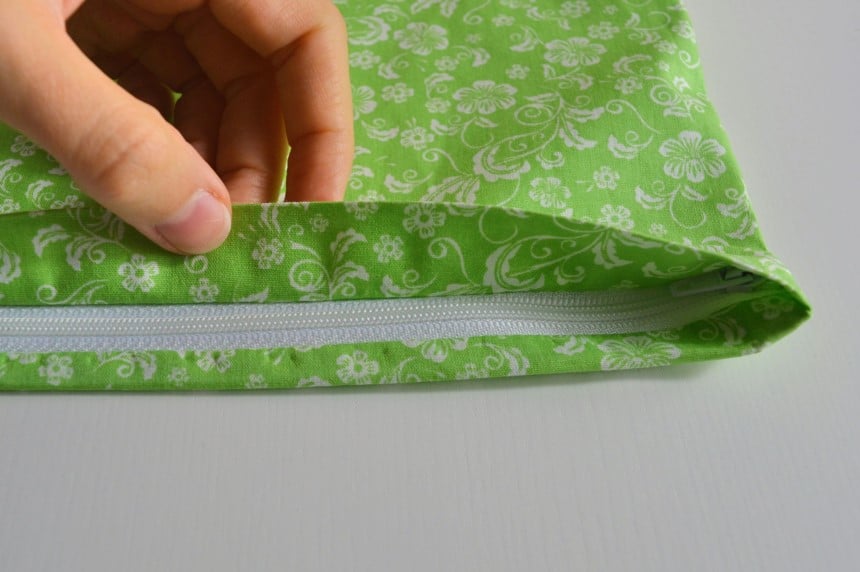 Those that like a tidier pillowcase opening will probably be drawn to the zip closure method. In this case, the zipper runs the whole length of a side and can easily be opened or closed to remove the stuffing. You will need to have a sewing machine with a proper zipper foot, such as the Singer line of sewing machines.
Use the zipper foot to add your zipper to the final, fourth side. Be sure to snip off any remaining zipper as it will be longer in length than your fabric. You may have to switch to a sewing machine stitch for the final inch.
After this is all done, your zipper will be seamlessly in place and it will be incredibly easy to use your pillowcase.
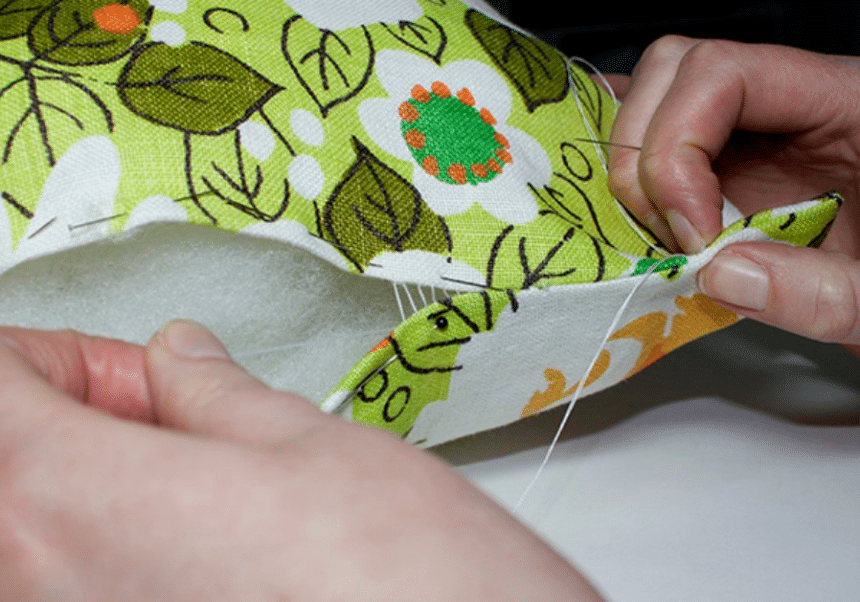 No, this is obviously not a way to close a pillow by your sewing machine but we thought we should include it, just in case. While there are plenty of ways to use your sewing machine to close a pillow, if you don’t have the patience or are still a bit unsure of your skills, you can always sew the closure by hand.
The trick is knowing which stitch to use for this purpose. In fact, there are many, many stiches to use for all different projects, and knowing which one is best can be hard to determine.
In this case, a blind hem stitch is one of the better options. In essence, if you do it right, you actually have an invisible stitch. You will need to fold the hem and place the needle vertically, not horizontally as is normal. As the stitch comes out, put it back into the fabric for another stitch.
The blind hem stitch can take a bit of finesse so you may want to practice it before using it on your pillow.
Another good hand stitch is the invisible ladder stitch. Start by folding in the two parts of the fabric. You want to stitch these inside folds so that the outside fold doesn’t have any stitches on it. Again. This can be a bit complicated and best if you practice first.
To help you create the perfect pillow, follow these useful tips.
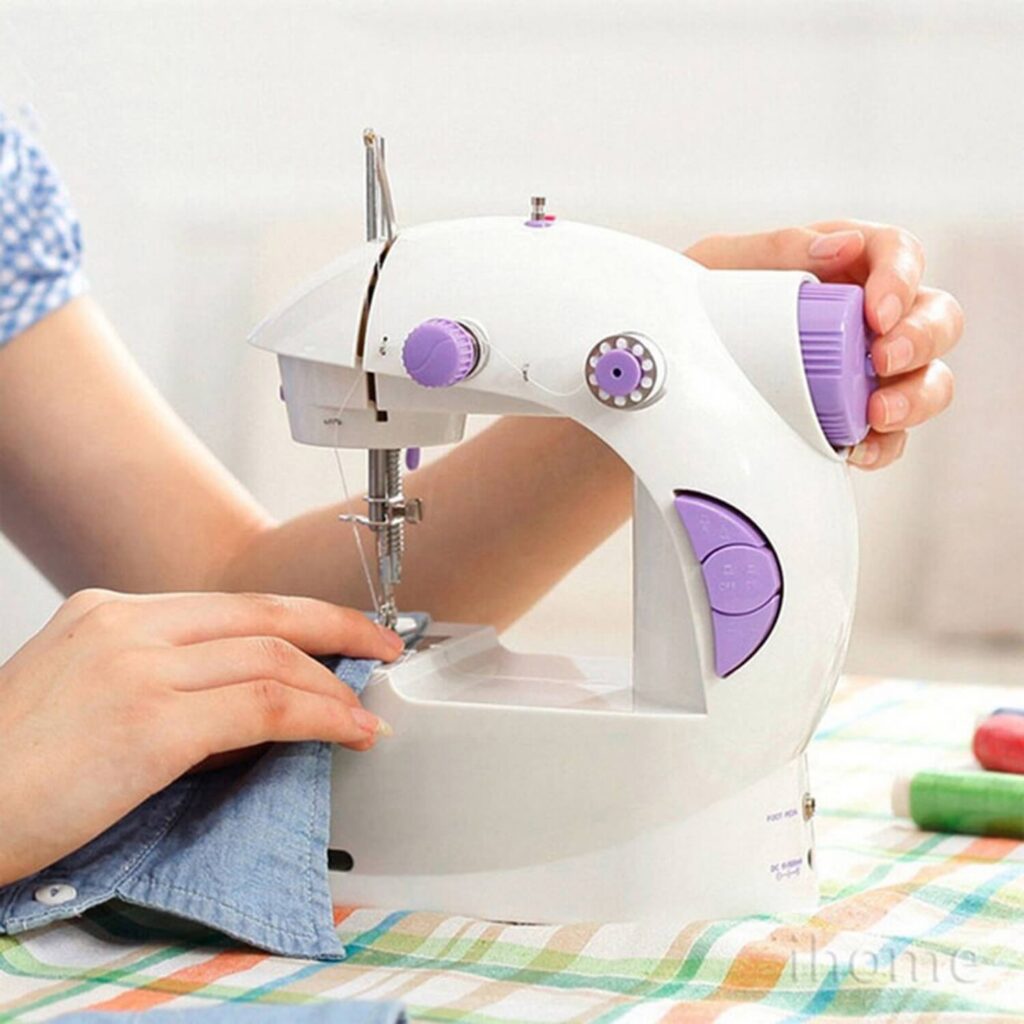
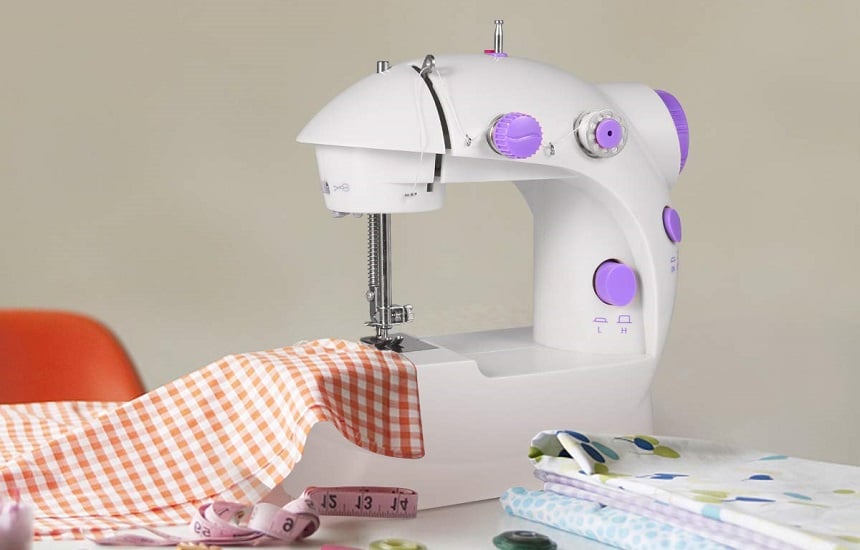
There are many ways to close your pillow by using a sewing machine and they all take different levels of experience. At its simplest, you can choose to sew straight across the opening. This is not the most elegant but it does get the job done. Better, more common approaches include creating a pocket closure or an envelope closure that leave a gap in the fabric that you can slide your stuffing in. Alternatively, you can elect for a button or a zipper closure that keeps everything tucked away. When you want to understand how to close a pillow with a sewing machine, the first step is definitely understanding your sewing machine and if you’re not sure about your skills, to practice, practice, practice.