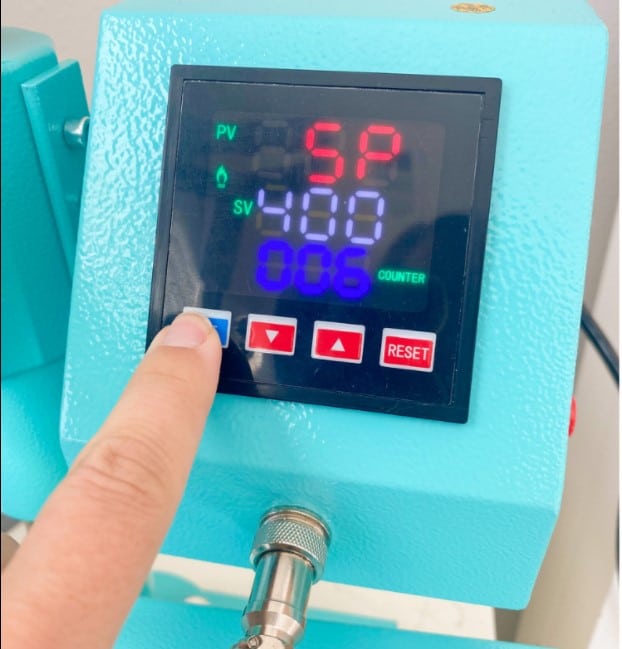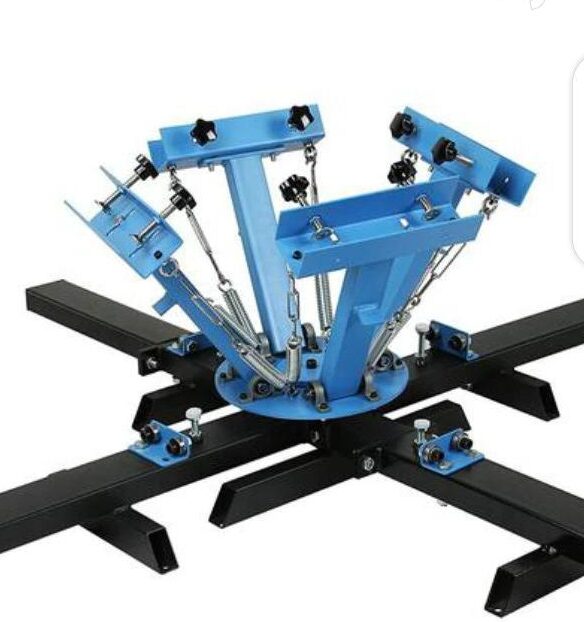


As an Amazon Associate I earn from qualifying purchases.
The best hat heat press is the one that holds your particular cap front smoothly under a curved heater. For regular custom caps, start with the HTVRONT A300: its automatic cycle and two supports simplify repeated work. The HTVRONT Manual is a direct, adjustable alternative; the Cricut Hat Press is better for occasional portable projects. Shops applying thick emblems should look at the Hotronix 360 IQ and its separately controlled upper and lower heat.

One-touch cycle and two hat supports for repeated custom caps.

Handheld curved plate and pressing form for small, occasional projects.

Upper and lower heat for shop work with thick patches and emblems.
| Press | Style | Choose it for | Watch for |
|---|---|---|---|
| HTVRONT A300 Auto Hat Heat Press | Automatic dedicated cap press | Repeatable batches with less manual clamping | Requires room to slide the hot head back |
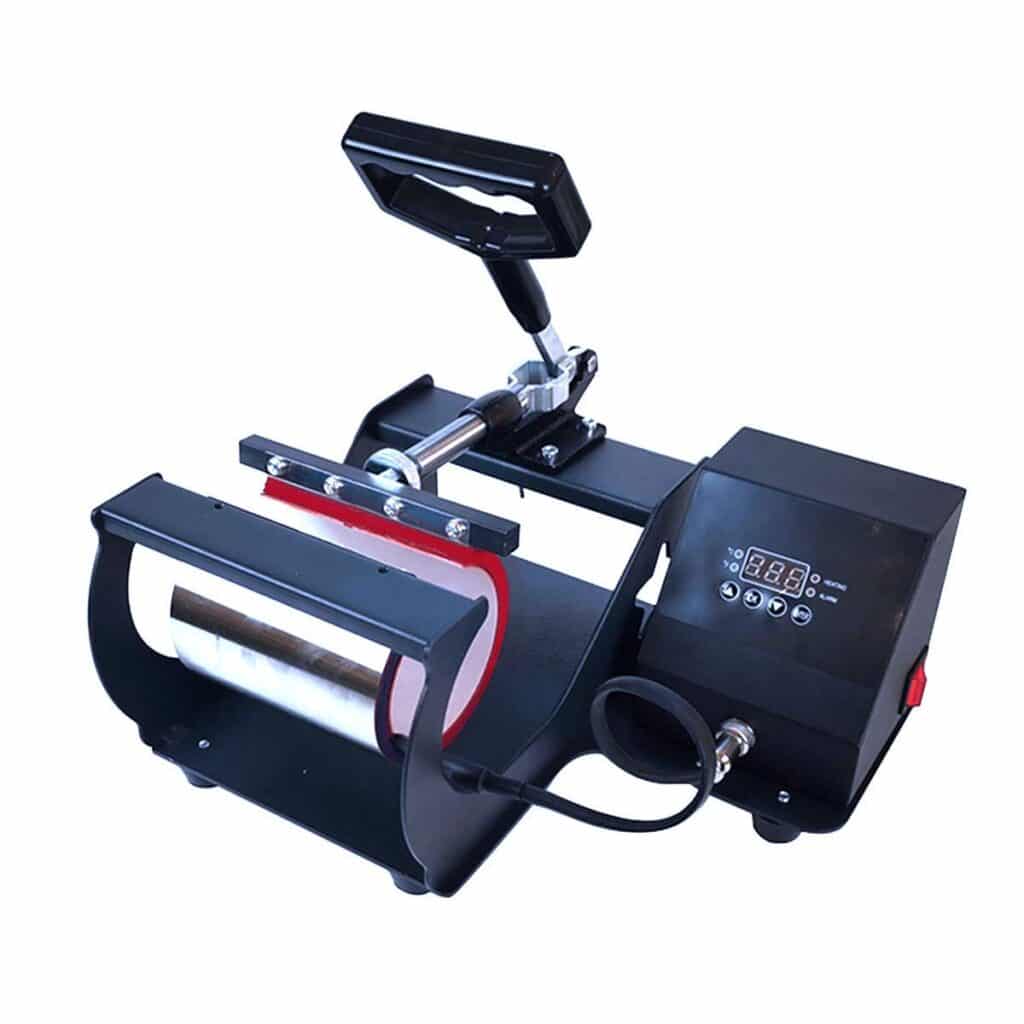
| HTVRONT Manual Hat Heat Press | Manual clamshell cap press | Adjustable pressure for a small home shop | Operator closes and opens each cycle |
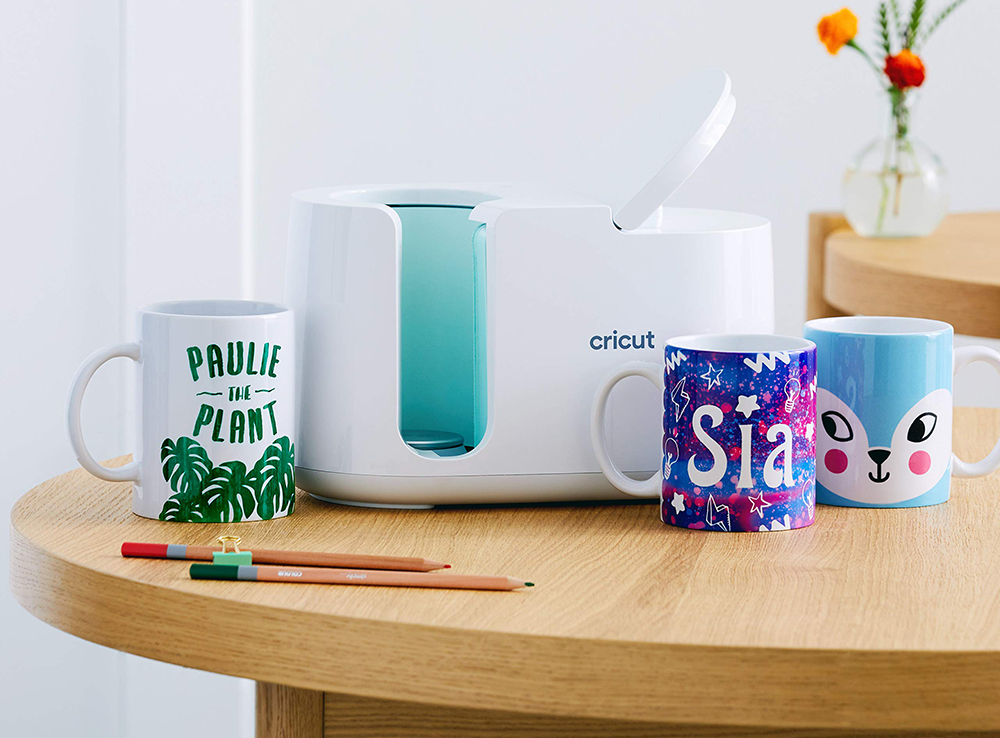
| Cricut Hat Press | Handheld curved heat plate | Occasional hats, bucket hats, and small designs | Move it over the design; mobile app activation required |
| VEVOR 4-Platen Hat Heat Press (Green) | Manual press with four lower forms | Different panel shapes and sizes on one station | Changing supports adds setup time |
| PYD Life H2C Pro 2-in-1 | Dual-heated cap and flat attachments | Hats plus labels, patches, and small flat blanks | Flat station is only 5.9 × 5.9 in |
| Hotronix 360 IQ Hat Heat Press | Commercial upper-and-lower heat cap press | Repeated hat work and thicker emblems | Much larger investment and heavier station |
A handheld curved plate such as the Cricut Hat Press is easy to store and lets you work around the cap, but you must keep it moving over a securely taped design. A fixed press holds a cap against a curved lower form for controlled contact over one defined area. The stand-mounted options are easier to repeat for a batch. A flat shirt heat press cannot easily create even pressure around a structured front or avoid the bill. If shirts are the main project, see the flat heat press guide instead.
Fitted, trucker, structured six-panel, five-panel, bucket, and youth hats do not present identical fronts. A center seam and stiff buckram can raise part of a design off the heater. Two lower forms cover common adult and smaller fronts; the VEVOR offers four curved supports for a wider range. Tension or stretch the hat as the machine maker directs, fold the sweatband out of the heat path if required, and test a blank of the actual style before committing to several.
HTV, DTF transfers, sublimation, and embroidered or leather patches need different materials and instructions. Dye sublimation requires a compatible polyester or specially coated blank and the correct sublimation ink and transfer; an ordinary cotton cap does not become sublimation-ready because the press gets hot. A heat press also does not create the graphic: cut HTV with a compatible cutter or source an appropriate prepared transfer. See our heat-transfer printer guide when choosing an ink and paper workflow.
Upper heat is enough for many thin HTV transfers when the material maker’s instructions and cap allow good contact. PYD Life H2C Pro and Hotronix 360 IQ add lower heat, which can be useful for certain patches and adhesives with a specified two-sided process. Do not simply halve a published dwell time or heat a foam-backed cap from both sides without checking the blank and transfer directions. The Hotronix adds a conforming lower platen and production controls; the PYD combo also changes to a small flat press.
Key details: Automatic raise and lower cycle · two hat platens in standard kit · 104–410°F settings · 1–999-second timer · 120 V US model.
The A300 is the practical default when you plan to make more than a few hats. Its upper assembly slides back to open the work area, the hat stretcher secures the cap, and a one-touch cycle raises the supported hat into the heated plate before lowering it at the end. Two included curved supports cover different hat fronts. This reduces the repeated hand force of a lever press while retaining control of temperature and dwell time.
Automatic movement does not flatten a seam or fix a transfer that was taped loosely. Position the cap carefully and keep hands clear of the rising platen and heater. HTVRONT sells several bundles, so confirm that the Amazon listing includes both hat supports. Choose a manual press below when you prefer to feel and adjust clamp pressure for each unusually thick transfer.

Key details: 110 V US version · manual lever and pressure regulator · large and small hat platens in standard kit · adjustable cap stretcher and suction-cup feet.
This press offers the important pieces of a dedicated cap station without automatic clamping. The adjustable lower stretcher pulls the front panel over a curved support, while the pressure regulator lets you account for thin HTV versus a thicker patch. The standard kit lists large and small hat platens. Suction-cup feet help stabilize it on a suitable smooth bench.
You still control each closing action, so repeated batches require attention and a consistent technique. A thick seam or bill too close to the transfer area can prevent even contact despite a pressure adjustment. This is a sensible first stand-mounted press for regular hobby work; the A300 is easier for a larger run.
Key details: 5 × 3 in curved heat plate · three heat levels up to 400°F · included pressing form, safety base and strong heat-resistant tape · Cricut Heat app activation.
Cricut puts a curved plate in your hand rather than mounting it on a clamshell. The supplied pressing form supports the hat from within, while strong heat-resistant tape holds a small design in place as you move the plate continuously across it. This is easy to store and suits gifts or occasional custom caps, especially for a maker already using Cricut iron-on or Infusible Ink.
It is not a hands-free production press. Keep it moving as Cricut directs, and do not expect a flat EasyPress to provide the same curve. The device will not function until activated in the Cricut Heat app on a compatible connected mobile device. The pressing form contains walnut shells, so check that material if it matters in your household. For repeated thick patches and firm fixed pressure, choose a stand-mounted machine.
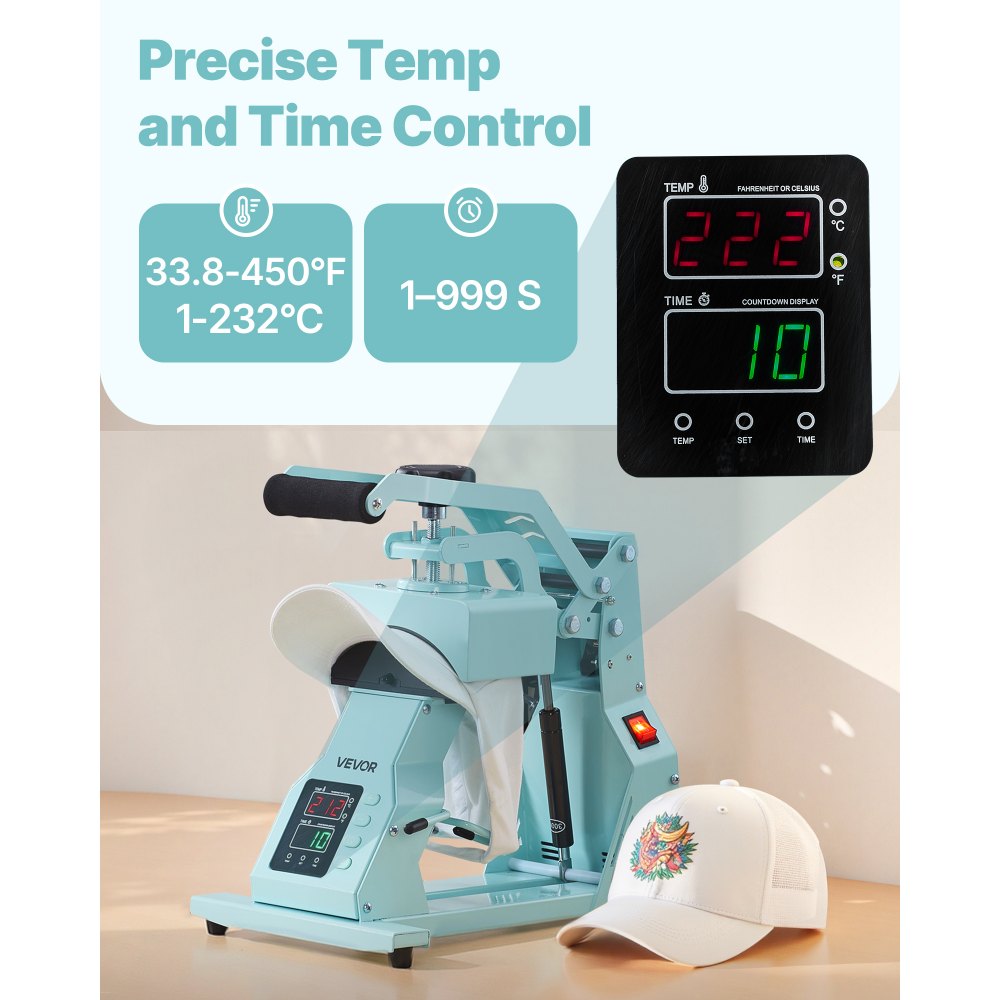
Key details: Green SDKM25-4 variant · four interchangeable curved lower platens · 6.1 × 3.15 in upper heating plate · adjustable time, temperature and pressure.
The appeal is fit. Four curved lower support forms give you more ways to match a structured cap, a shallower front, or a smaller panel beneath the heated top plate. That can reduce empty spaces and wrinkles at the edges of a transfer. The display controls time and temperature, and the long handle and pressure knob manage the manual closing action.
These are four lower cap platens, not four independently heated heads. Swapping forms and retensioning each new hat takes time, so this is most useful when you actually press varied blanks. The linked listing is for the green four-platen version; VEVOR also sells two-platen and other-color configurations. Verify the exact four support sizes in the box and test the panel fit before a full batch.

Key details: 110 V light-blue combo · cap attachment installed · 5.9 × 5.9 in flat attachment included · separately controlled top and bottom heating · touchscreen.
The H2C Pro earns a place when your craft table alternates between cap fronts and small flat pieces. Its cap attachment is installed in the package, with a 5.9-inch-square flat attachment for tags, ornaments, small patches, or labels. Upper and lower heaters have independent controls, allowing you to follow a material process that calls for heat from both sides or use the upper heat alone.
It is not a substitute for a full-size shirt press. Changing the attachment interrupts a hat run, and dual heat is not automatically appropriate for every HTV, DTF, or sublimation blank. Follow the transfer and blank instructions for temperature, pressure, time, and whether lower heat should be enabled. Choose a dedicated cap press if hats are almost all you make.
Key details: 120 V, 800 W US specification · independently controlled upper and lower heat · Dual Silicone Platen · auto-open · three foam cover pads · 44 lb machine.
This is the specialized workstation for a shop doing thick patches, emblems, and a variety of cap styles. The conforming lower platen supports the hat while separate upper and lower heat controls can activate suitable adhesives from both sides. The included cover pads accommodate different transfer thicknesses, and the auto-open mechanism reduces the risk of leaving a completed hat under heat while preparing the next one.
The extra controls matter only if you will use materials with documented settings for them. STAHLS lists a recommended design area of about 5.5 inches wide by 2.25 inches high; it is not an unlimited full-front press. The machine weighs 44 pounds and needs a dedicated work position. For a few HTV caps a month, the A300 or manual HTVRONT makes more sense.
| Result | Likely issue | Try next |
|---|---|---|
| Loose edges | Panel lifted away from heater or pressure was uneven | Re-seat and tension the cap; use a form matching its curve and the material maker’s settings |
| Wrinkle through the artwork | Seam, slack front, or transfer carrier folded | Move or resize artwork; smooth and secure the panel before pressing |
| Ghosted sublimation image | Transfer shifted or moisture remained | Pre-press if instructed, tape securely, and lift paper without sliding |
| Scorch mark or flattened foam | Heat, dwell, pressure, or bottom heat unsuitable for the blank | Check the cap and transfer guidance; test a spare blank with one change at a time |
| Patch center bonds but border lifts | Thick patch and curved front lack uniform support | Use the correct form or specified cover pad; follow patch-specific application directions |
Soft, flat sections may sometimes be pressed with an appropriate form, but a structured cap front and bill are awkward under a flat platen. A curved hat plate and matching support make even contact easier. Do not force the bill into a flat press.
There is no universal maximum. The printable area depends on cap shape, seam, bill, support form and the press. Cricut recommends a maximum of about 4.25 inches wide by 2.25 inches high for one Hat Press cycle; Hotronix lists an ideal area around 5.5 by 2.25 inches on the 360 IQ. Measure your actual cap and leave room from seams and edges.
Standard dye sublimation needs a compatible polyester or coated surface and the right ink and transfer. A plain cotton cap is not suitable for ordinary sublimation. Use HTV, a suitable DTF transfer, or another decoration method intended for that cap material instead.
Yes. Cricut says the device will not function until activated with the Cricut Heat app on a compatible internet-connected mobile device. The app can then guide time and temperature for supported material combinations.
No. The linked green four-platen machine uses one heated upper plate and four interchangeable curved lower forms that support different cap fronts. Choose the form that matches the blank before setting pressure.
No. Pressure depends on the adhesive, patch thickness, cap structure and machine. Excess force can distort a panel or leave marks. Follow the transfer maker’s instructions and use the correct support or cover pad for a thick emblem.
Choose the HTVRONT A300 for repeated caps with an automatic cycle. Choose the HTVRONT Manual if you want a straightforward clamshell with adjustable pressure, or the Cricut Hat Press for portable, occasional designs. The VEVOR four-platen suits several front shapes, the PYD Life H2C Pro combines caps with small flat work, and the Hotronix 360 IQ is the shop-level choice for dimensional patches and independently controlled heat. Match the cap and transfer to the press before buying.