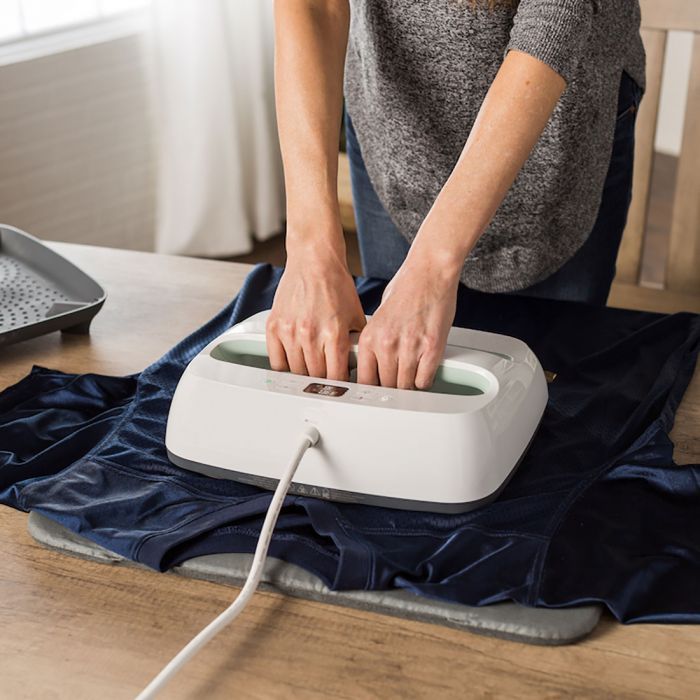


If you came here looking for one universal heat press setting for cotton, polyester, or a T-shirt, there is an important point to get right first: the transfer material usually determines the temperature, time, pressure, and peel method more than the garment fiber alone. Siser EasyWeed HTV, a DTF transfer, sublimation paper, and a screen-printed transfer can all be applied to apparel, but they use very different settings.
That is why this updated heat press temperature chart is organized by transfer process first, then by substrate where the substrate materially changes the application. The figures below are useful starting points and manufacturer examples, not replacements for the instructions supplied with your exact vinyl, transfer, paper, ink, or blank.
This first table gives fast starting points for the transfer methods most Crafty Hangouts readers use. Scroll sideways on a phone if needed.
| Transfer / Process | Starting Temperature | Time | Pressure | Peel / Key Note |
|---|---|---|---|---|
| Standard HTV example: Siser EasyWeed | 305°F / 150°C | 10–15 sec | Medium | Hot or cold peel; pre-press garment 2–3 sec |
| Glitter HTV example: Siser Glitter | 320°F / 160°C | 15–20 sec | Medium | Warm peel |
| Holographic HTV example: Siser Holographic | 320°F / 160°C | 10–15 sec | Medium | Cold peel |
| Flock HTV example: Siser StripFlock Pro | 310°F / 155°C | 15 sec | Medium | Warm peel after about 10 sec off press |
| Reflective HTV example: Siser EasyReflective | 305°F / 150°C | 10–15 sec | Medium | Warm peel |
| DTF example: Transfer Express UltraColor Max | 290°F / 143°C | 12–15 sec | Medium | Cold peel on current product instructions; always check your film supplier |
| Screen-printed transfer example: Goof Proof Premium | 320°F / 160°C | 10 sec | Medium / firm | Hot peel |
| Sublimation on polyester fabric | 400°F / 205°C | About 45 sec | Medium | Use polyester or a sublimation-compatible blank |
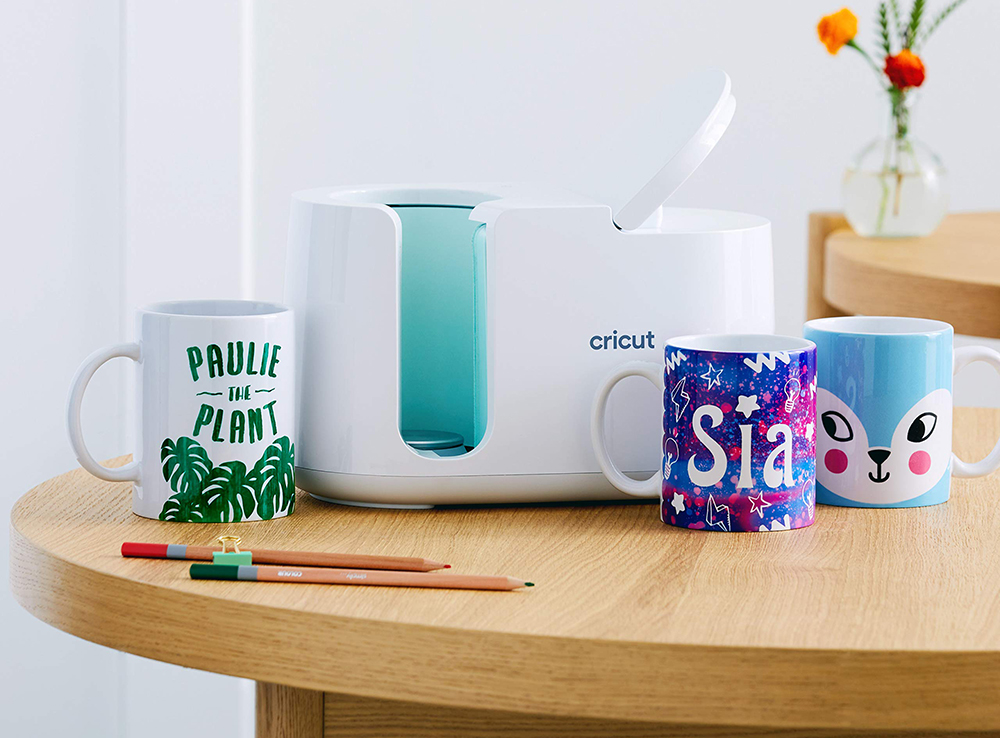
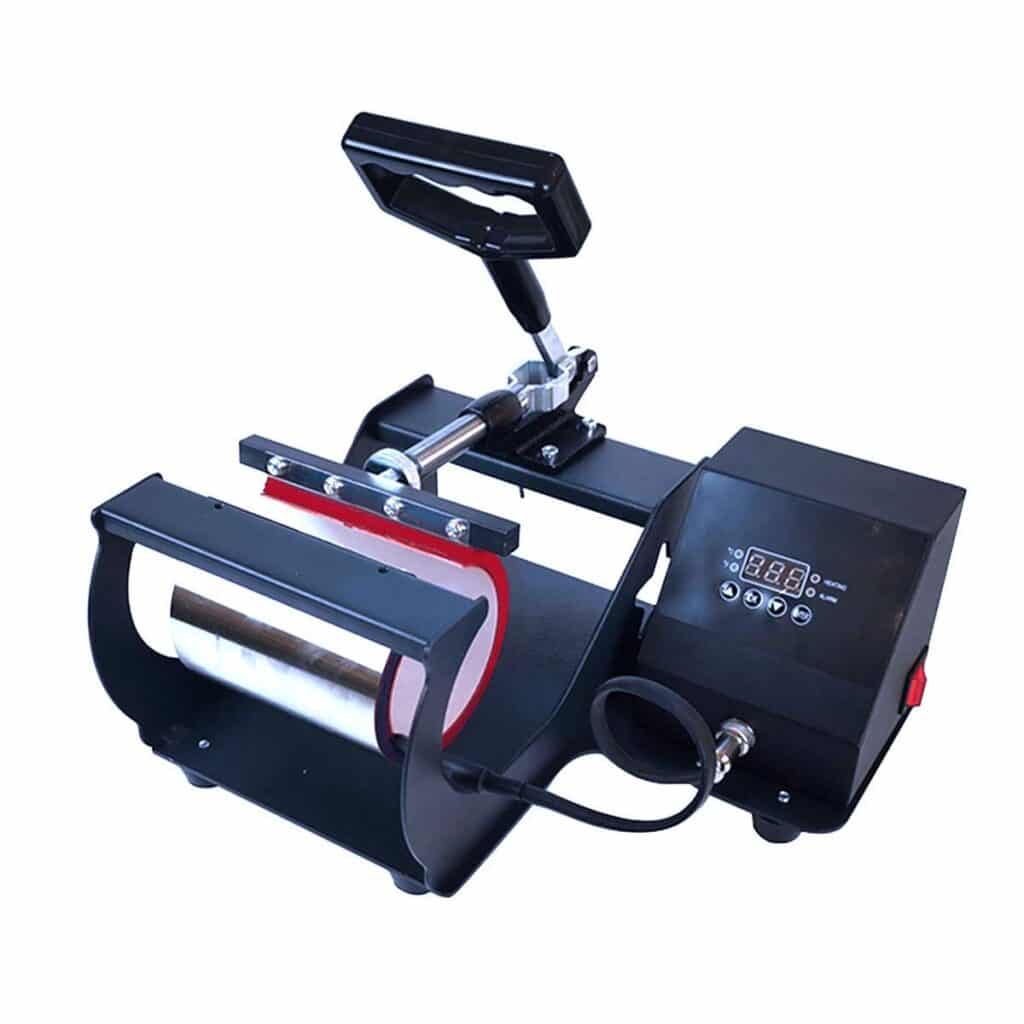
| Sublimation ceramic mug | 350–400°F / 180–205°C | 150–300 sec | Medium | Blank and mug press can change the exact cycle |
| Sublimation metal panel | 400°F / 205°C | 60 sec | Medium | Use polymer-coated sublimation metal |
Notice what is not in the table: a generic setting called “cotton” or “dark fabric.” Cotton can receive HTV, DTF, screen-print transfers, and other products, each with different instructions. Likewise, garment color usually does not justify inventing a new temperature; what matters is the transfer product and whether the fabric is heat-sensitive or prone to dye migration.
Choose a common process below for a manufacturer-backed starting point. This tool is designed as a quick reference; the full charts and explanations underneath tell you when to adjust or verify the setting.
JavaScript is disabled. Use the complete reference tables below; they contain the same settings.
You do not need to buy every accessory, but a few inexpensive items solve common application problems. If you are still choosing the machine itself, start with our best heat press machines guide or compare small heat presses if space and portability matter.
Compare current full-size and portable options before buying.
Useful for sublimation and transfers that must not shift during pressing.
Raises the print area above seams, zippers, pockets, and other pressure obstacles.
Protects the platen and transfer when the material maker calls for one.
Heat transfer vinyl is one of the most common reasons people search for a heat press temperature chart, but “HTV” is a category, not a single formula. Standard polyurethane vinyl, glitter, holographic, flock, reflective, puff, stretch, and dye-block products can all need different settings.
For a reliable benchmark, Siser’s current EasyWeed instructions call for 305°F / 150°C for 10–15 seconds at medium pressure, with the carrier peeled hot or cold. Its specialty materials differ: Glitter is hotter, Holographic is a cold peel, and StripFlock Pro uses a warm peel.
| HTV Example | Temperature | Time | Pressure | Peel |
|---|---|---|---|---|
| Siser EasyWeed | 305°F / 150°C | 10–15 sec | Medium | Hot or cold |
| Siser EasyWeed Stretch | 305°F / 150°C | 15 sec | Firm | Hot or cold |
| Siser Glitter | 320°F / 160°C | 15–20 sec | Medium | Warm |
| Siser Holographic | 320°F / 160°C | 10–15 sec | Medium | Cold |
| Siser StripFlock Pro | 310°F / 155°C | 15 sec | Medium | Warm |
| Siser EasyReflective | 305°F / 150°C | 10–15 sec | Medium | Warm |
| Siser EasyWeed Sub Block | 265°F / 130°C | 15 sec | Medium / firm | Warm |
| Cricut Autopress preset: Everyday Iron-On on cotton | 315°F / 155°C | 40 sec | Autopress controlled | Cool to touch |
| Cricut Autopress preset: Glitter Iron-On on cotton | 330°F / 165°C | 30 sec | Autopress controlled | Follow Cricut instructions |
The adhesive and face material are engineered differently from one HTV line to another. A glitter layer is thicker than standard vinyl. Reflective, flock, stretch, and dye-block products also have different construction and application goals. That is why a generic statement such as “vinyl presses at 320°F” can be wrong even when it sounds close.
If you use Cricut materials, use the Cricut Heat Guide for the exact combination of iron-on, base material, and Cricut heat press. Cricut’s own documentation says settings are unique to the transfer material, base material, and press.
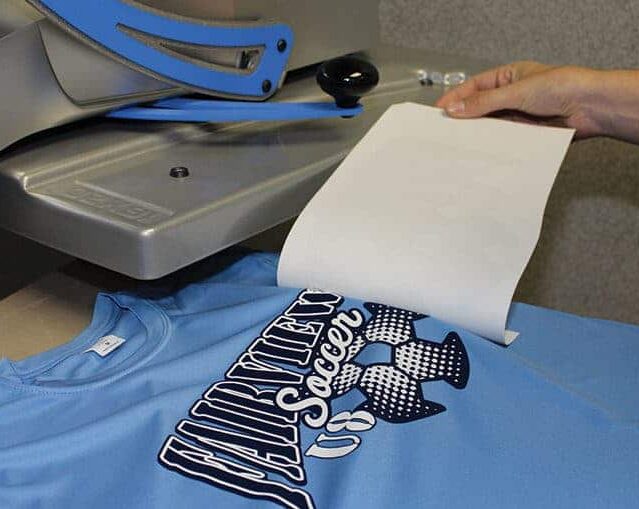
For many HTV and transfer workflows, yes. A short pre-press helps flatten wrinkles and drive off surface moisture. Siser’s EasyWeed instructions specify a 2–3 second preheat, while Transfer Express commonly recommends 3–5 seconds for its transfers. Do not automatically add a long pre-press: the purpose is preparation, not an extra full heat cycle.
Sometimes, but only when the HTV manufacturer supports a lower-temperature method. Siser, for example, publishes a lower-temperature EasyWeed application method for heat-sensitive fabrics. This is much safer than inventing a lower number yourself. If a polyester jersey, rayon blend, modal garment, or coated fabric is valuable, test in an inconspicuous area first.
If shirts are your main project, our Cricut for making shirts guide explains where the cutter fits into the workflow, while our heat press guide covers the machine itself.
DTF is one of the easiest processes to get wrong with a generic chart because modern films and transfer suppliers can specify very different temperatures and peel behavior. Some are hot peel, others warm or cold peel. Some low-temperature products are intentionally designed for polyester and heat-sensitive garments.
A good current real-world example is Transfer Express UltraColor Max. Its current product instructions specify 290°F for 12–15 seconds at medium pressure with a cold peel. The garment is pre-pressed for 3–5 seconds to remove moisture and wrinkles.
Polyester can develop two different problems under heat. The fabric itself can glaze or show press marks, and its dye can migrate into the transfer. A red or navy polyester shirt can discolor a white transfer even after the press cycle is complete.
For that reason, use a DTF product specifically approved for the garment and temperature you are pressing. Low-temperature or blocker products exist for exactly this problem. Do not respond to dye migration by simply pressing hotter or longer.
No. Some DTF workflows use a finishing press, while others are designed as a one-step application. Transfer Express currently states that UltraColor Max does not require a second press. Again, the supplier’s instructions should decide this rather than a generic rule.
Sublimation is different from adhesive transfers. The dye turns into a gas under heat and bonds with polyester or a polymer coating. That is why sublimation normally runs at much higher temperatures than HTV or DTF.
Sawgrass explicitly describes its own chart as a starting point and tells users to follow substrate-manufacturer instructions where available. That is the same approach we recommend here.
| Sublimation Blank | Temperature | Time | Pressure | Notes |
|---|---|---|---|---|
| Polyester fabric | 400°F / 205°C | 45 sec | Medium | Pre-press briefly to remove moisture; use polyester or a compatible blank |
| Ceramic mug | 350–400°F / 180–205°C | 150–300 sec | Medium | Press and mug coating can change the cycle |
| Metal | 400°F / 205°C | 60 sec | Medium | Use sublimation-coated metal |
| Acrylic | 375°F / 190°C | 60 sec | Medium | Use a sublimation-compatible acrylic blank |
| MDF board | 400°F / 205°C | 60 sec | Medium | Blank coating matters |
| Neoprene | 400°F / 205°C | 45 sec | Medium | Test for press marks |
| Glass | 400°F / 205°C | 420 sec | Medium | Follow the blank maker’s thermal-shock guidance |
| Ceramic tile | 400°F / 205°C | 420 sec | Medium | Follow the blank maker’s instructions |
| Sublimation HTV | 310°F / 150°C | 15 sec | Medium | This is for the sublimation-HTV layer, not direct sublimation into cotton |
Not directly in the same way you sublimate polyester. Sublimation dye needs polyester or a polymer coating to create a durable bond. If you want a sublimation design on a cotton shirt, you need a compatible intermediary product, such as a sublimation HTV designed for that purpose, or a different printing method.
A mug is a thick, curved hard good. The heating element, mug wall, coating, starting temperature, and pressure all influence how quickly the transfer area reaches the required temperature. That is why Sawgrass gives a broad 150–300 second range rather than pretending every mug press and mug blank behaves identically.
For drinkware, see our guide on how to heat press a mug and our comparison of the best mug presses.
Use our free calculator to estimate material cost, labor, overhead, fees, and target profit before setting a selling price.
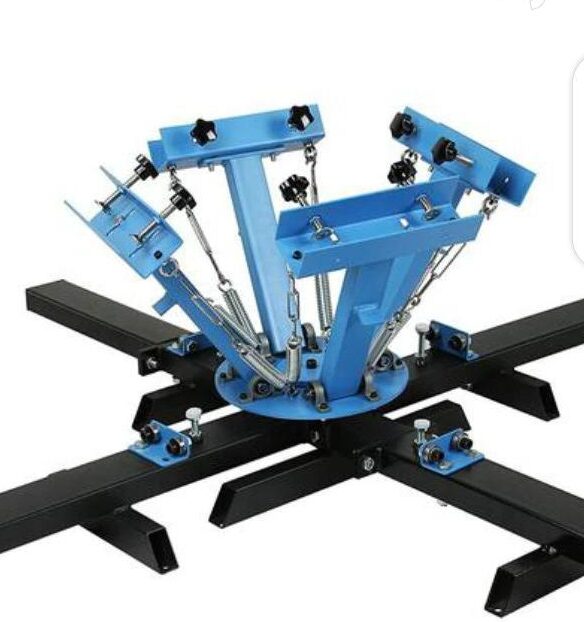
Pre-printed screen-print transfers are another case where the exact product matters more than the garment name. Transfer Express, for example, publishes different settings for Goof Proof, Goof Proof Premium, Hot Split Retro, Elasti Prints, puff, reflective, silicone, and other transfer lines.
For a current example, Goof Proof Premium applies at 320°F for 10 seconds at medium/firm pressure and peels hot. Standard Goof Proof can use different cycles depending on whether the job is single-color cotton, polyester, or multi-color.
This is why old advice such as “full color = 350°F” or “vintage look = 350°F” is not a reliable application method. The visual style of the artwork does not determine the heat cycle; the transfer chemistry does.
The old version of this article treated cotton, polyester, light fabric, and dark fabric as if each had a single heat press setting. That is too simplistic. A better way to think about it is:
| Garment / Substrate | Main Concern | What to Do |
|---|---|---|
| 100% cotton | Usually tolerates heat well, but transfer chemistry still determines settings | Use the exact HTV/DTF/screen-transfer instructions; do not choose temperature from cotton alone |
| 100% polyester | Scorching, glazing, press marks, dye migration | Use an approved low-temp transfer where needed; test the garment; consider dye-block products |
| Cotton/poly blend | Usually forgiving, but blend ratio and dye can still matter | Follow transfer instructions and test especially on dark polyester-rich blends |
| Tri-blend / rayon blend | Heat sensitivity and visible press boxes | Prefer lower-temp transfers when available and minimize unnecessary heat exposure |
| Stretch / performance fabric | Stretch recovery, scorching, dye migration | Use stretch-compatible and fabric-approved transfers; test before production |
| Seams, pockets, zippers | Uneven pressure | Raise the print area with an appropriate pad or heat press pillow |
| Light vs dark fabric | Transfer-paper opacity or dye migration, not a universal temperature rule | Choose the correct light/dark transfer system and follow its own application instructions |
Not as a universal rule. With inkjet transfer paper, light- and dark-fabric products are often different materials and therefore may have different instructions. With HTV or DTF, garment color by itself is not enough to choose a temperature. Dark polyester can create a dye-migration problem, but the solution is an appropriate transfer product and verified application method, not an arbitrary color-based temperature.
Use a transfer designed to stretch with the garment. A stretch HTV, for example, has its own manufacturer setting. The old approach of assigning all stretchy fabrics one temperature ignores differences between nylon, polyester, spandex blends, and the transfer adhesive.
Temperature and time are easy to put in a table; pressure is harder because not every heat press measures it the same way. One press may use a digital number, another a knob, and another automatic pressure control.
Do not assume that “more pressure” fixes weak adhesion. Too much pressure can squeeze adhesive, leave carrier impressions, or create press marks. If one corner of a design fails while the rest applies correctly, uneven platen pressure or a seam under the print area may be the real problem.
A perfect chart is useless if the press display says 320°F while part of the platen is much cooler. STAHLS recommends checking heat-press temperature accuracy and evenness, especially if transfers lift in particular areas.
Regular platen cleaning matters too. Adhesive or ink residue can transfer onto later projects. Our heat press cleaning guide covers routine maintenance in more detail.
| Problem | Likely Cause | What to Check First |
|---|---|---|
| HTV lifts when carrier is removed | Wrong peel timing, too little heat/time/pressure, cold spot | Re-check the exact HTV instructions; verify platen temperature and pressure |
| DTF ink stays on the film | Wrong peel temperature or incomplete adhesive activation | Confirm whether your film is hot, warm, or cold peel and use the supplier’s cycle |
| Transfer sticks except near a seam | Uneven pressure | Move the seam off the platen or raise the print area with a pillow/pad |
| Polyester turns shiny or discolored | Too much heat/time or direct platen contact | Stop; test a lower-temp approved transfer method and protect the garment |
| White transfer changes color on dark polyester | Dye migration | Use a low-temperature or dye-block product approved for sublimated/dyed polyester |
| Sublimation looks faded | Wrong substrate, low heat/time, moisture, or print-side error | Confirm the blank is sublimation compatible; verify time/temp and transfer orientation |
| Sublimation looks blurry / ghosted | Transfer moved while hot | Secure with heat-resistant tape and lift the transfer cleanly without sliding |
| Carrier outline / box appears on fabric | Heat/pressure impression on sensitive garment | Reduce unnecessary heat exposure, use an approved lower-temp transfer, and isolate seams |
| One side of a large design fails | Cold spot or uneven platen pressure | Test platen temperature and corner pressure before changing the transfer settings |
When the shirt, transfer, or blank is new to you, treat the first piece as a test rather than trusting a generic chart.
If you are new to the machine itself, our step-by-step heat press guide covers setup and operation. For T-shirt businesses comparing processes, see our T-shirt printing machine guide and printers for heat transfers.
Inkjet and laser transfer papers are product-specific. Light-fabric and dark-fabric papers can have different application methods, and some are designed for an iron rather than a commercial heat press. Do not reuse a temperature from one brand on another simply because both packages say “heat transfer paper.”
Choose the paper that matches your printer type and fabric color, then follow that paper’s own instructions. Our heat transfer paper guide explains the differences, while our heat-transfer printer guide helps you match the printing method to the right printer.
There is no single standard temperature for all T-shirts. A Siser EasyWeed HTV application is 305°F, Transfer Express UltraColor Max DTF is currently 290°F, Goof Proof Premium is 320°F, and sublimation on polyester is around 400°F. Choose the setting from the transfer product, not from the fact that the substrate is a T-shirt.
Many standard HTVs fall around 300–320°F, but the exact setting varies by brand and product. Siser EasyWeed uses 305°F for 10–15 seconds at medium pressure, while Glitter and Holographic products use different settings. Check the product instructions before pressing.
Use your DTF supplier’s instructions. As one current example, Transfer Express UltraColor Max applies at 290°F for 12–15 seconds at medium pressure and uses a cold peel on its current product page. Other DTF films can specify different temperatures and peel methods.
Sublimation commonly runs near 400°F on polyester and polymer-coated hard goods, but time varies widely by substrate. Sawgrass lists about 45 seconds at 400°F for polyester fabric, 60 seconds at 400°F for metal, and 150–300 seconds at 350–400°F for ceramic mugs.
Yes, but polyester needs care. It can show glazing or press marks, and dark dyed polyester can suffer dye migration. Use a transfer approved for polyester, follow its temperature instructions, and test before production. Sublimation is intentionally designed for polyester and therefore uses much higher heat than adhesive transfers.
Follow the transfer product. EasyWeed can be hot or cold peel, Siser Glitter is warm peel, Holographic is cold peel, current UltraColor Max instructions call for a cold peel, and Goof Proof Premium peels hot. Peeling at the wrong time can ruin an otherwise correct press.
Use the manufacturer’s light, medium, or firm recommendation and learn how that translates to your specific press. Pressure scales are not universal. If your press has no digital pressure readout, test for even contact and follow its manual for adjustment.
Common causes include insufficient heat, time, or pressure; an incorrect peel method; moisture; seams creating low-pressure areas; and a heat press with cold spots. Verify the exact transfer instructions before repeatedly pressing the design, because over-pressing can create a new problem.
No universal rule applies. Many HTVs use a cover sheet, but some transfer suppliers explicitly say not to use one during initial application because it can block heat. Follow the product instructions. A cover sheet is a tool, not a mandatory extra layer for every process.
The most important improvement you can make to your heat-press workflow is to stop looking for a single temperature based only on the fabric. Start with the transfer product, then account for the garment or blank, your press, pressure, and peel method.
For everyday reference, remember these examples: Siser EasyWeed uses 305°F for 10–15 seconds, current UltraColor Max DTF uses 290°F for 12–15 seconds, Goof Proof Premium uses 320°F for 10 seconds, and Sawgrass lists 400°F for about 45 seconds for polyester sublimation. Those figures show why one “T-shirt temperature” cannot cover every process.
When in doubt, use the instructions packaged with your transfer or published by its manufacturer, test one piece, and record what works on your exact press. That approach is slower than guessing once and much faster than replacing a ruined batch.
Compare the Best Heat Press Machines