

If acrylic paint spits, clogs, dries on the needle, or refuses to atomize smoothly, the answer is often not simply “add more thinner.” Airbrush-ready acrylics, brush acrylics, artist soft-body paint and Createx-style airbrush colors all begin at different viscosities, and each manufacturer can recommend a different reducer.
The old version of this article recommended generic isopropyl-alcohol mixes as a broad solution. I would not use IPA as a default acrylic thinner. Some paint systems have reducers containing alcohol or glycol ethers, but those are formulated for the resin system. Randomly adding household IPA can accelerate tip dry or destabilize some water-based acrylics. Use it only when the paint manufacturer explicitly supports it.
| Paint Type | Good Starting Point | Typical Pressure Starting Point | Important Note |
|---|---|---|---|
| Airbrush-ready acrylic | Try it unthinned first; add small amounts only if needed | Often around 15–20 PSI for hobby acrylics | Ready-to-spray does not mean every color behaves identically |
| Vallejo Model Air | 3 parts paint : 1 part Airbrush Thinner when thinning is useful | Vallejo’s current guide uses about 15 PSI as a starting point | Model Air is already formulated for airbrush use |
| Vallejo Model Color / thicker brush acrylic | Start around 1:1 paint : suitable airbrush thinner | Adjust after a test spray | Strain if the paint has larger particles or dried bits |
| Liquitex Soft Body | Liquitex recommends starting at 1:1 with Airbrush Medium | Depends strongly on nozzle and distance | Heavy Body should be mixed and strained before spraying |
| Createx airbrush colors | Start around 10% reducer by volume, then adjust to the paint/TDS | Adjust to nozzle and surface | Createx technical guides may call for more reduction for some airbrush applications |
| Acrylic ink / very fluid acrylic | Often little or no thinning | Lower pressure may be enough | Do not thin automatically just because it is acrylic |
If you want a quick starting quantity instead of doing the drop math manually, use the site’s existing calculator below. It is rendered by the Crafty Hangouts Tools plugin; this article does not add separate calculator code.
These are three useful, manufacturer-matched options rather than one generic bottle for every acrylic:
Best matched to Vallejo Model Air, Game Air and properly diluted Vallejo brush acrylics. Vallejo’s current Model Air guidance uses 1 part thinner to 3 parts paint when thinning is needed.
Createx’s standard reducer for its current paints and clears. Createx says about 10% by volume is a general starting point, while paint-specific technical guides may call for more.
A better choice than plain water when converting artist acrylics for spray use. Liquitex recommends starting around 1:1 with Soft Body Acrylic and adjusting for pigment, nozzle and pressure.
Do not begin with the bottle of thinner. Begin with the paint label.
If you are still choosing a paint system, see our best airbrush paints guide.
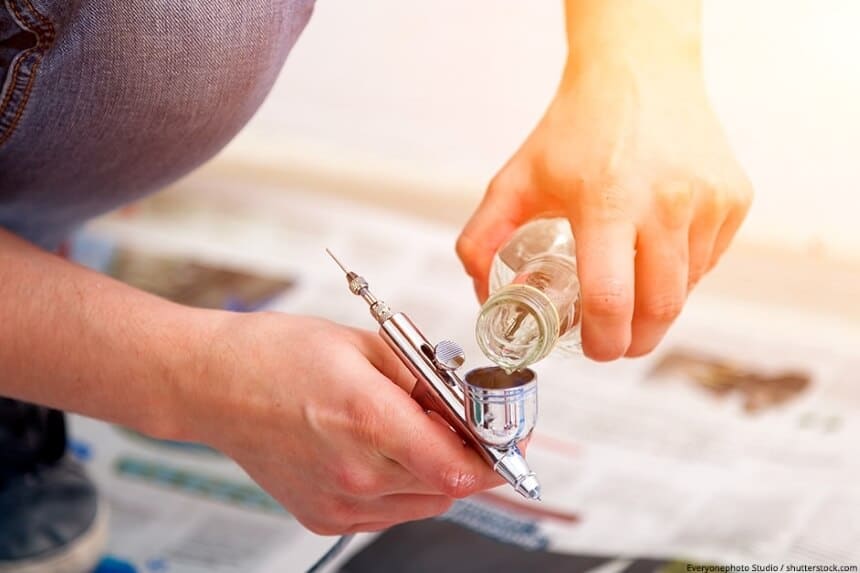
Measure the paint and reducer rather than dumping thinner into the cup until it “looks right.” Drop counting works well for small gravity-feed cups; milliliters work better when you are preparing enough paint for several passes.
For example:
Mix in a separate cup when you are still learning a new paint. This gives you better control and makes it easier to strain the mixture. If you mix directly in the airbrush cup, add a little reducer first, then paint, then the remaining reducer. Stir from the bottom instead of relying on back-bubbling alone.
Thinning lowers viscosity, but it does not shrink pigment particles, remove skin from the bottle neck, or dissolve dried acrylic chunks. Liquitex specifically recommends straining Heavy Body mixtures after thinning. This step can prevent a lot of false “ratio problems.”
Spray a short line and a wider pass on paper or a test card. You are looking for a smooth atomized pattern rather than a perfect visual analogy such as “skim milk.” The spray result matters more than how the mixture looks in the cup.
If the paint is too thick, add only a few drops of thinner, mix, and retest. If you change thinner, PSI and trigger distance at the same time, you will not know which change fixed the problem.
| Nozzle | What It Usually Wants | Good Use | Common Mistake |
|---|---|---|---|
| 0.15–0.2 mm | Very fine, well-strained paint; often more reduction | Fine detail, miniature work | Trying to force thick brush acrylic through the nozzle with more PSI |
| 0.3–0.35 mm | Moderately thin mixture; forgiving starting size | General models, illustration, crafts | Over-thinning paint that would already spray well |
| 0.5 mm+ | Can tolerate thicker paint | Primer, broad coverage, thicker coatings | Thinning as aggressively as you would for a 0.2 mm detail nozzle |
If you are unsure whether your nozzle is suitable for the paint and job, use the site’s Airbrush Needle/Nozzle Size Finder.
There is no single correct pressure. Pressure and viscosity work together: a thicker mixture usually needs more pressure to atomize, while a very thin mixture can often spray cleanly at lower pressure.
Vallejo’s current Model Air guidance commonly starts around 15–20 PSI, and its 2026 Model Air guide uses about 15 PSI with a 3:1 paint-to-thinner mix. That is a useful reference for hobby acrylic—not a universal setting for every paint or airbrush.
Use the existing PSI tool for a project-specific starting point:
Thinner/reducer primarily lowers viscosity. Flow improver changes flow and drying behavior. Many flow improvers reduce surface tension and slow tip dry, but they should not automatically replace all of your thinner.
Vallejo’s current Model Air material is a good example. It recommends 3 parts paint to 1 part Airbrush Thinner when reduction is needed. Separately, Vallejo describes Flow Improver as a drying retarder and gives its own ratio. That is evidence these are different jobs, not interchangeable names.
Yes, but water is best treated as a limited adjustment rather than the universal answer. Water lowers viscosity, but unlike an airbrush medium it does not add binder, flow additives or retarders.
Liquitex specifically recommends Airbrush Medium instead of water when substantial thinning is required because the medium helps maintain paint-film integrity, flexibility, adhesion and handling. For artist acrylics, that is a stronger default than trying to turn thick paint into spray paint with large quantities of water.
If you do use water:
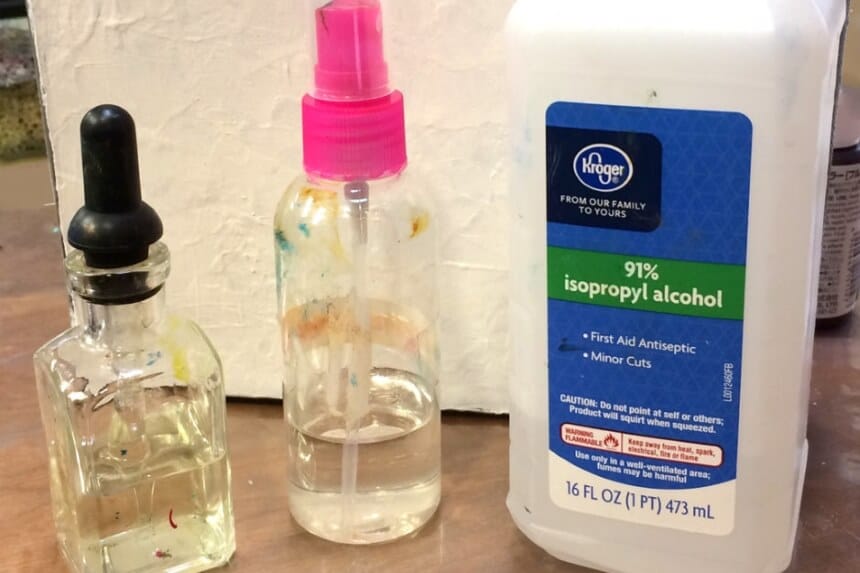
Some proprietary reducers contain alcohol-type solvents, and some acrylic systems may tolerate specific alcohol blends. That does not mean household 70% or 91% isopropyl alcohol is compatible with every acrylic resin.
Too much fast-evaporating solvent can increase tip dry, change leveling, or cause some acrylic binders to behave badly. If the manufacturer sells a matched reducer—Vallejo Airbrush Thinner, Createx 4011, Liquitex Airbrush Medium—start there.
Use flow improver when the paint is basically thin enough but dries on the needle before you can work comfortably. This is especially common with tiny nozzles, warm rooms, dry air and close-up detail work.
Vallejo’s current Game Air guidance recommends 4 parts paint to 1 part Flow Improver when that additive is needed. Its Model Air guide likewise treats Flow Improver as a product for delaying drying and improving flow—not simply as thinner.
Retarder should also be used sparingly. Too much can make the surface stay soft or tacky for longer than expected.
| Paint | Manufacturer Starting Guidance | What I Would Do First |
|---|---|---|
| Vallejo Model Air | Ready for direct airbrush use; current guide also gives 3:1 paint : thinner when thinning | Spray unthinned first with a 0.3 mm-class nozzle; add thinner if needed |
| Vallejo Game Air | Ready to use; 3:1 paint : thinner recommended with 0.2 mm or smaller nozzles | Only thin when the nozzle/detail level requires it |
| Vallejo Model Color | Vallejo tutorial uses roughly 1:1 paint : Airbrush Thinner | Mix outside the cup, strain, then test |
| Createx Colors | Createx general guidance starts around 10% 4011; some airbrush TDS guidance uses about 20% | Check the exact Createx paint TDS before exceeding the general starting reduction |
| Liquitex Soft Body | Start 1:1 with Liquitex Airbrush Medium | Adjust for pigment, nozzle and spray distance |
| Liquitex Acrylic Ink | Already extremely fluid; Liquitex says it can be airbrushed and recommends Airbrush Medium for optimum atomization | Do not automatically dilute it like Soft Body paint |
| Symptom | Likely Cause | Try This First |
|---|---|---|
| Spatter / large droplets | Paint too thick, pressure too low, partially clogged nozzle | Clean the tip/nozzle, then add a small amount of thinner or raise PSI slightly |
| Paint will not spray until trigger is far back | Mixture too thick or nozzle partly blocked | Thin slightly and inspect the nozzle/needle |
| Paint dries constantly on needle | Fast drying, too much air, too much fast solvent, dry environment | Use compatible flow improver/retarder and clean the needle tip more often |
| Spidering / paint runs outward | Mixture too thin, too much pressure, spraying too close | Reduce PSI, move back, or add paint |
| Weak transparent color when it should cover | Over-thinning or inherently transparent pigment | Add paint back; do not chase flow by endlessly adding reducer |
| Grainy / dusty finish | Paint drying before it reaches the surface, excessive distance or pressure | Move closer, reduce pressure, or use suitable retarder/flow improver |
| Clogs even when mixture looks thin | Dried particles or pigment too coarse for nozzle | Strain the mix and use a larger nozzle if necessary |
| Poor adhesion after drying | Too much water/reducer, unprepared surface, incompatible paint/substrate | Return toward manufacturer ratio and prep/prime the surface correctly |
This is much more repeatable than using “milk consistency” as your only test. Visual consistency can help, but two paints that look equally thin in the cup can atomize differently.
Sometimes—but it is harder than using paint formulated for airbrushing. Craft acrylics may have larger pigment particles, lower pigment concentration after heavy thinning, and more variation between colors. A larger nozzle such as 0.4–0.5 mm, proper airbrush medium and straining can improve your odds.
For miniature/model detail, buying a purpose-made airbrush acrylic often costs less in frustration than forcing a thick craft paint through a 0.2 mm nozzle. If you are choosing equipment for that work, see our best airbrushes for models and best airbrush compressors.
If the paint is only thickening because water/solvent has evaporated, compatible thinner may bring the viscosity back. If acrylic has formed skins, strings or rubbery chunks, do not force those through an airbrush. Once acrylic polymer has fully cured, thinner does not return it to fresh paint.
Strain questionable paint. If the bottle has widespread cured material, replacing it is cheaper than repeatedly stripping a clogged 0.2 mm nozzle.
There is no universal ratio. Vallejo Model Air currently uses a 3:1 paint-to-thinner starting ratio when thinning is needed, Vallejo Model Color can start around 1:1, Liquitex Soft Body starts around 1:1 with Airbrush Medium, and Createx guidance varies by product and application. Start with the exact manufacturer’s instructions.
“Milk consistency” is a rough visual shortcut, not a specification. Spray pattern is the better test. If the paint atomizes cleanly without spidering, clogging or drying excessively on the tip, the mix is more important than whether it visually matches milk.
Yes for modest adjustment in compatible water-based acrylics, but large amounts can reduce binder concentration and paint-film performance. For significant thinning, a matched airbrush medium or reducer is generally the safer choice.
Do not treat rubbing alcohol as a universal acrylic thinner. Some formulated reducers contain alcohol-type solvents, but generic IPA can change drying and resin behavior. Use it only when the paint manufacturer supports it.
No. Thinner mainly reduces viscosity. Flow improver is typically used to improve flow, reduce surface tension and/or delay drying. Some products can contribute to both effects, but follow the label rather than substituting one automatically for the other.
Not always. Vallejo formulates Model Air for direct airbrush use. Its current guidance also recommends 1 part Airbrush Thinner to 3 parts paint when further reduction is useful.
Vallejo commonly recommends around 15–20 PSI for its airbrush acrylics, but ideal pressure depends on viscosity, nozzle size, distance and detail level. Use the lowest pressure that still atomizes the mixture cleanly for your task.
The problem may be dried particles or pigment size rather than viscosity. Strain the mixture, clean the nozzle and needle, and consider a larger nozzle. More thinner cannot dissolve fully cured acrylic particles.
You can for simple repeat mixes, but a separate cup is better when learning a new paint or using thick artist/craft acrylic because it lets you mix thoroughly and strain before the paint reaches the nozzle.
This refresh removes the old generic IPA-heavy advice and replaces it with current manufacturer-specific guidance:
Do not search for one “perfect” acrylic thinning ratio. Identify the paint family, start with the manufacturer’s reducer and ratio, test with your nozzle and PSI, and adjust one variable at a time.
If you want the shortest practical workflow: airbrush-ready paint → try unthinned first; brush acrylic → use a proper airbrush medium/thinner; tiny nozzle → thin and strain more carefully; tip dry → consider flow improver instead of endlessly adding thinner.
For the rest of the setup, browse the Crafty Hangouts airbrushing tools or compare our best airbrush kits.