An airbrush is an essential tool for any expert that requires assistance to apply color to a surface. The user can choose to use paint, ink, or dye depending on the project they are working on. The process requires one to work with the best airbrushes available to get the most satisfactory results. Additionally, one must know how to clean an airbrush before initiating the process. Cleaning is essential for the different airbrushes that manufacturers avail to consumers to maintain the overall appearance of the product and functionality as well.
The user must clean the equipment after every use to guarantee efficiency and longevity. Most manufacturers provide cleaning instructions that one must follow to the latter. In this article, we discuss an easy-to-follow guide that one can use to clean the airbrush they have. We also include tips and tricks to help in the various procedures involved to ensure that the airbrush remains in mint condition for an extended period.
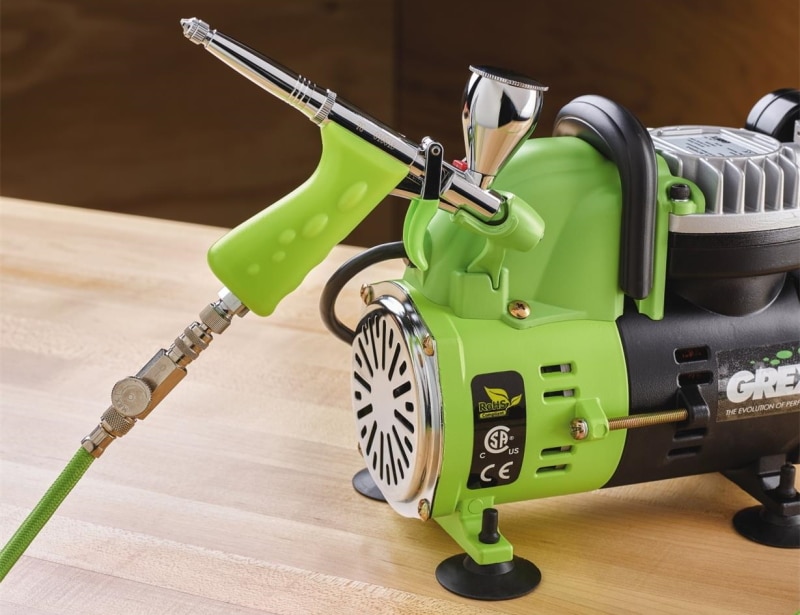
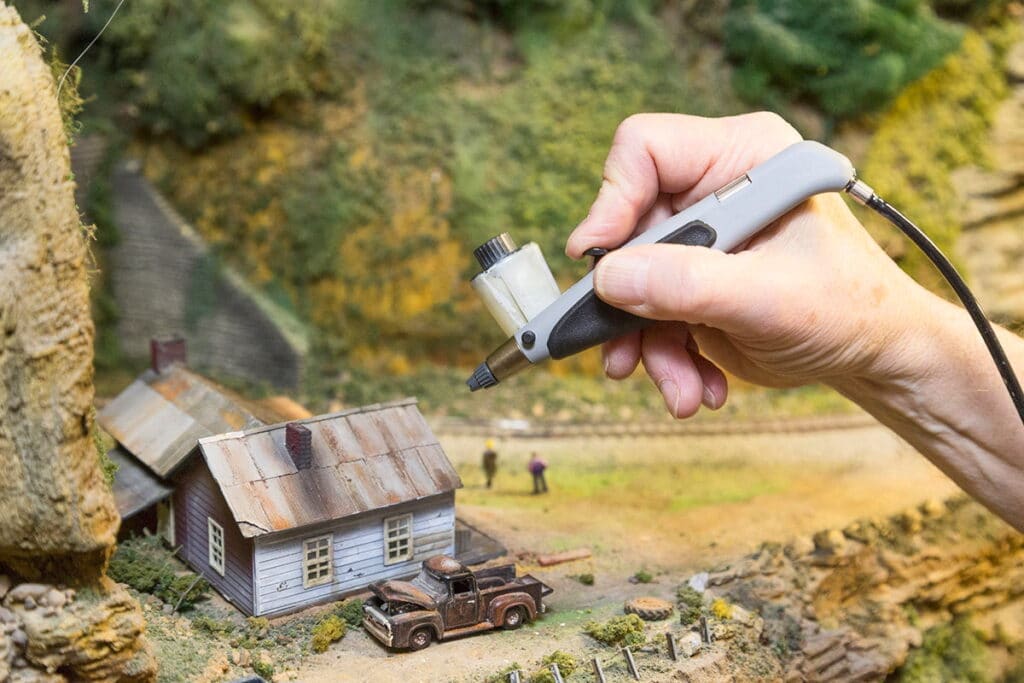
The common use of airbrushes Trusted Source Airbrush - Wikipedia An airbrush is a small, air-operated tool that sprays various media, most often paint but also ink and dye, and foundation by a process of nebulization. Spray painting developed from the airbrush and is considered to employ a type of airbrush. en.wikipedia.org is car paint touch-up or application. However, the applications do not end here. When buying equipment that falls into this family, the user should ensure that they get a multi-purpose airbrush kit to use for an array of projects. Below we dive deep into maintenance and cleaning for airbrushes during and after use.
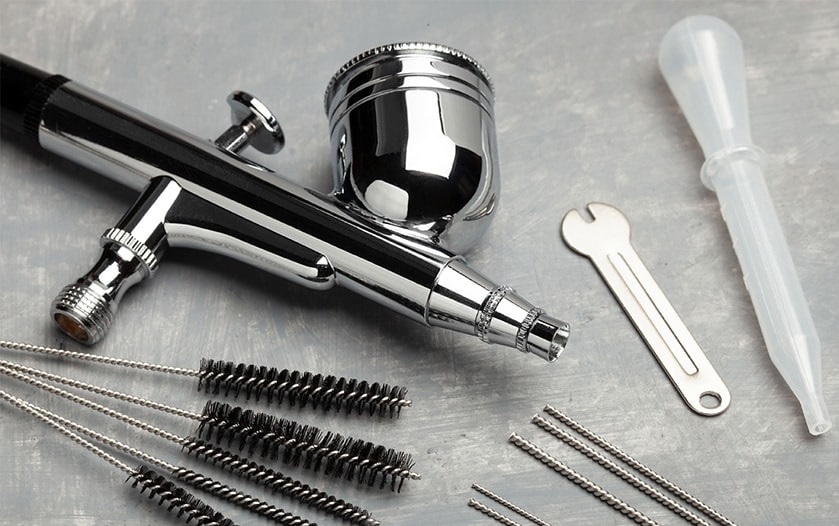
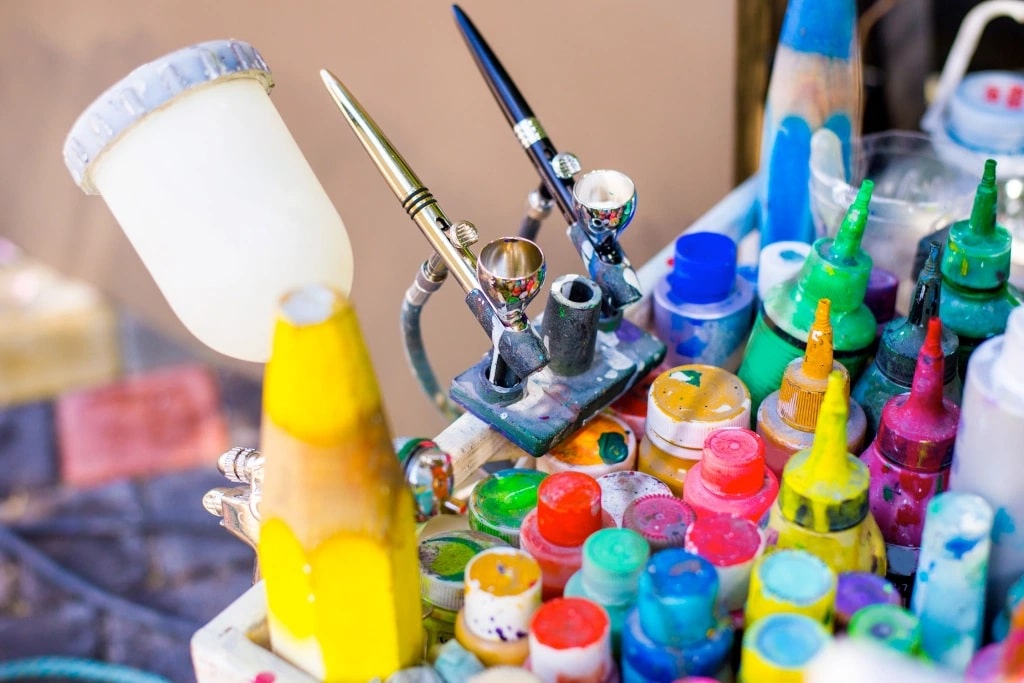
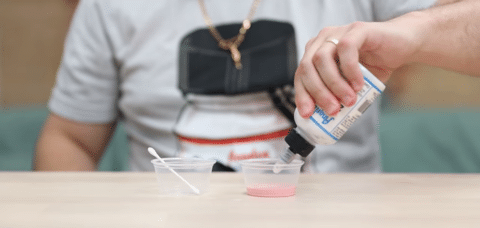
The first step that one has to take when cleaning an airbrush is to assemble the tools and cleaning supplies. Having the right gear and detergents makes the process painless. Here are some of the supplies that one must-have for easier cleaning of an airbrush.
These supplies are vital for deep cleaning the different parts of the airbrush. Understanding how to disassemble the tool is also essential. When one is unsure about the right procedure, it is best to ask an expert or engage the manufacturer’s customer support for a guide. The ink container ought to be emptied before the disassembly process begins. According to most reviews, the Master airbrush cleaning kit is among the best that one can use as it has all the necessary cleaning needles and brushes.
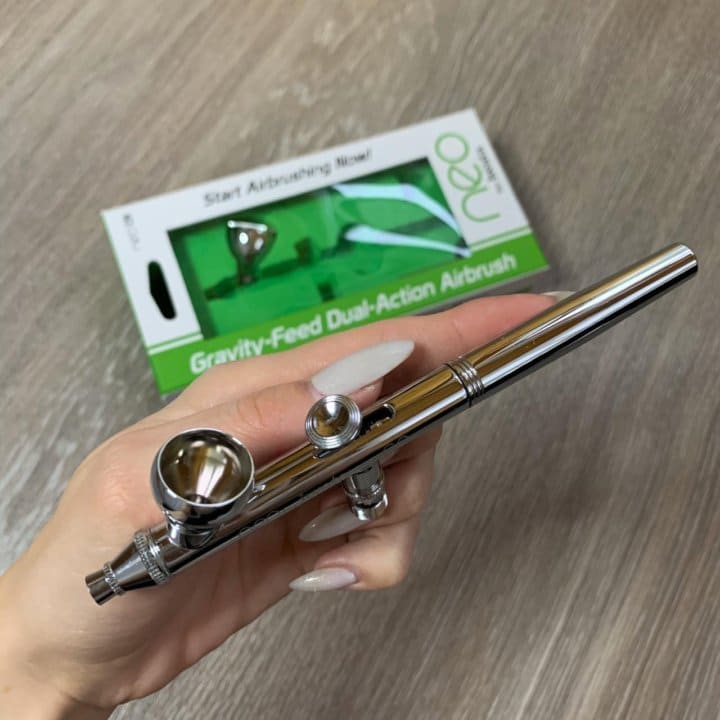
The pistol is one of the removable parts of an airbrush. Beginners should read through the manual from the producing company to get the step-by-step guide to disassembling the pistol of the model they use. Tools are essential for the dismantling of the removable parts. Most manufacturers include the same in the package that one receives. The first part that one should remove is the needle. This should be set aside in a secure place to prevent loss or accidents.
The needle ought to be pulled out from the front instead of the rear to avoid contaminating the gun’s interior. Once this part is out of the way, the nozzle and airhead should be removed next. For models that do not have a plug connection, a unique tool is needed, and one should confirm that they have the right one for the airbrush in their possession. The paint container, needle chuck, and operator lever are the other removable parts disassembled after the airhead.
The needle needs to be clean and free of any paint clogs. The cleaning process is more straightforward if the user rinses the airbrush after every use. A cloth and detergent are the supplies that one needs to clean this part of the airbrush. Twisting motion is used to clean the needle from front to rear to minimize any risk of injury to the person cleaning or damage to the needle. The movements should be repeated until the needle is free of any paint residue.
The airbrush nozzle is among the sensitive parts that require extreme caution during cleaning. One can choose to use a cleaning needle or brush to remove paint and any other residue from the nozzle. Appropriate cleaning solutions can be used to make the process a breeze. The manufacturer’s instructions on the handling and maintenance for this part will come in handy during washing. For this reason, the person washing the nozzle should read the manual that the manufacturer provides.
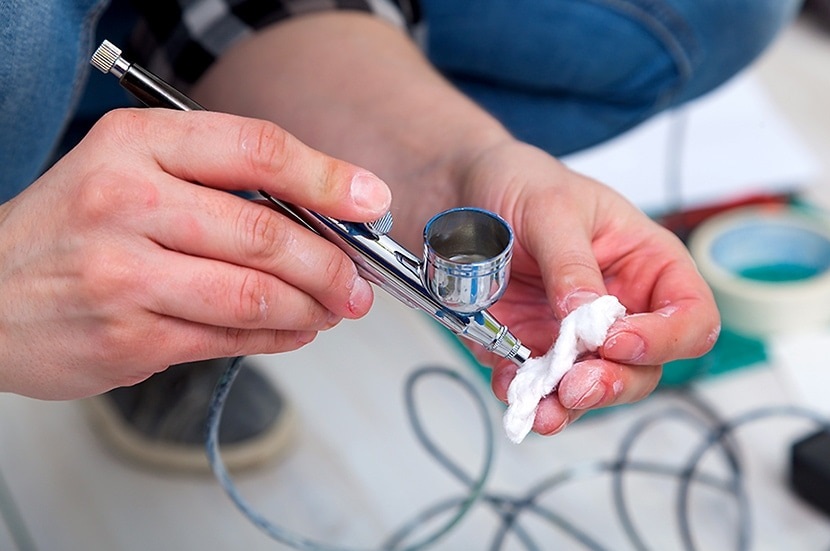
The ink duct, airhead, and nozzle connection are among the most manageable parts to clean. Paint removal can be done using a swab of cotton soaked in the right cleaning solution. Alcohol is among those that experts and producers of this type of equipment recommended. The ink duct requires more attention necessitating the need for a fine brush to help remove paint from the channel.
These three parts also have seals that one cannot overlook because leaving any paint residue could cause irrevocable damage after some time. If the seals are removable, they should be removed and cleaned separately.
The needle chuck does not need to be disassembled before cleaning is done, and this makes the procedure more manageable for both beginners and expert users. A fine brush cleans the needle channel while the paint container and pistol body are cleaned with cotton swabs or certain types of cloth suitable for cleaning airbrushes. According to expert reviews and testimonials from previous users, the OPHIR airbrush cleaning kit has all the necessary tools that one will require to clean these three parts of the airbrush.
After cleaning and drying for some removable parts, it is time to put the airbrush gun back together. The ink container, needle chick, and operating lever are the first three parts to be mounted. The needle goes up next, and the preferred insertion direction is from the front going to the rear. This part should be pulled until it extends out of the needle chuck. This is an indication that it is safe to install the nozzle. The pistol body is the last to be included in the setup.
Maintaining an airbrush can be a challenge for people who have no experience working with them. One should understand the material the manufacturer uses to make the different parts to avoid damaging the airbrush during cleaning. Here are some tips and tricks to make maintenance more manageable.
There are many airbrush models in the market today. Before placing an order, one should review the fundamental features of the product and the cleaning procedure. Most manufacturers provide the necessary information regarding the same. When cleaning, it is best to follow the guidelines from the manufacturer to avoid destroying the airbrush. After washing the airbrush, assembly, and testing if it works are vital before storage.
End-of-session rinses are a routine that one should not assume to keep the airbrush in good condition. Deep cleaning is necessary time and again. Various factors push for the washing of the airbrush, including but not limited to usage and the type of color that one uses. Knowing how to clean an airbrush is crucial for anyone working with them.