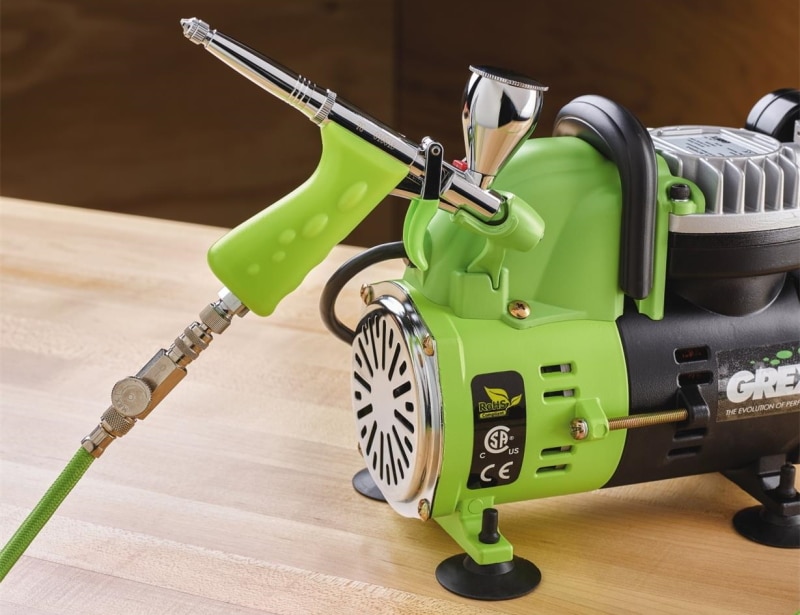
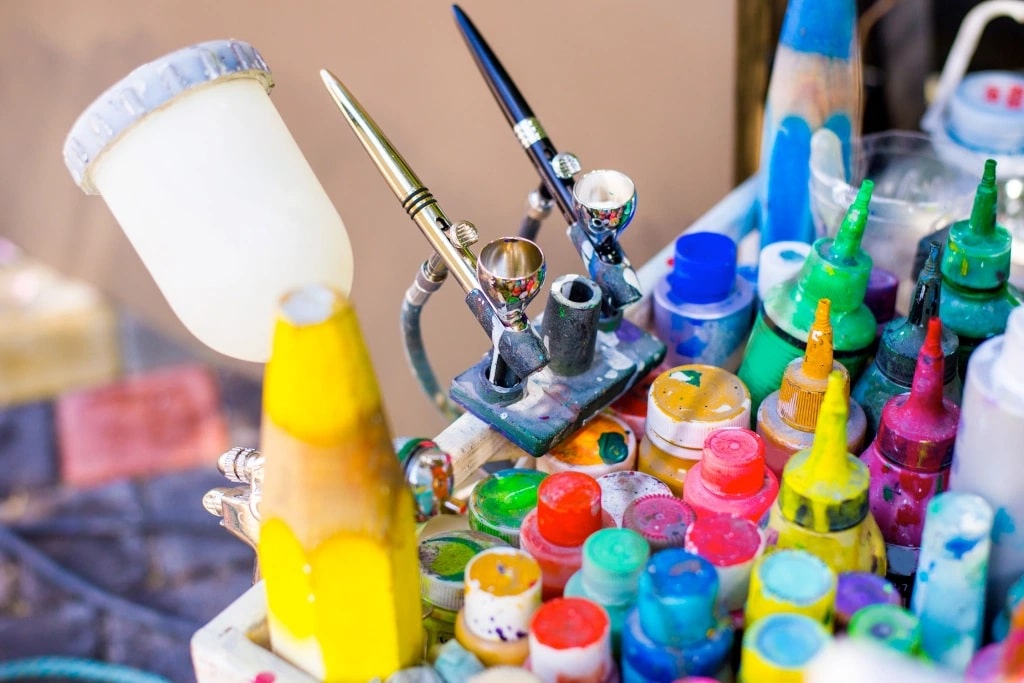
With the right skillset and paint, airbrush painting could give you some of the best results for artwork, miniature models, or even for general paint jobs. Ideally, you should do it with dedicated airbrush paints. Some are sold as ready-to-use products, so you just put them in your airbrush tool and spray away. Simple as that. Nevertheless, some may require thinning to make them usable in your airbrush. As such, you need to know how to mix these airbrush paints to get the best results. We give some guidelines on that below.
Notably, the type of paint you’re using does matter. That said, mixing airbrush paint generally tends to follow the same process with only slight variations depending on the paint and thinner types. Here’s the general process. In addition, such paints are often used to create colored balls in paintball, so we have prepared for you an assembly of the best paintball guns.
Step 1. Select the Paint
Ideally, you start by selecting the paint. Different brands tend to have varied attributes. Some are opaque, others are see-through, a few flow easily, others are more viscous, and more. Again, if you’re using airbrush-ready paints, you might not have to thin them. However, if you’re using regular acrylics, watercolors, Tempera, or something different, it may be necessary to have some thinners close by.
Step 2. Figure Out Which Thinner to Use
Corrosionpedia Trusted Source What is a Paint Thinner? - Definition from Corrosionpedia This definition explains the meaning of Paint Thinner and why it matters. www.corrosionpedia.com describes thinners as solvents that reduce the thickness of some paints. They’re effective for cleaning up after a paint job and also work to remove tar buildup.
Notably, by reducing the thickness of paints, thinners make it flow much more easily through the needle of an airbrush which is necessary if you want good results for your paint job. That said, there are different varieties of thinners for various paints. For instance, even water is considered a thinner/reducer for some paints, but it won’t work for all of them.
Other paint thinner options include mineral spirits, lacquer thinners, special thinners, and more. The trick is finding the correct thinner to use with your paint.
For Tempera, acrylics, and watercolors, you can reduce them with distilled water. It has to be distilled water; otherwise, you risk introducing impurities to your paint which can be problematic. Enamel paints, sign paints, and lacquer paints are solvent-based. However, the solvent choice is different for the three paint varieties.
For lacquer paints, you’ll have to buy a lacquer-specific thinner. For enamel paints, mineral spirits are the ideal thinner, and finally, with sign paints, a special type of thinner made by the paint manufacturer should be your go-to solution.
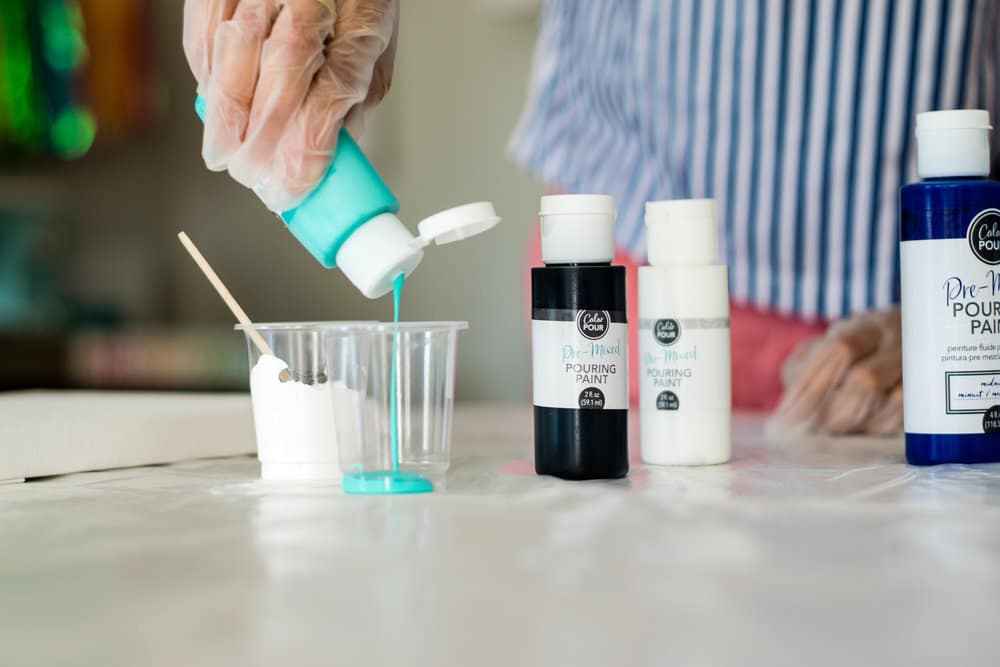
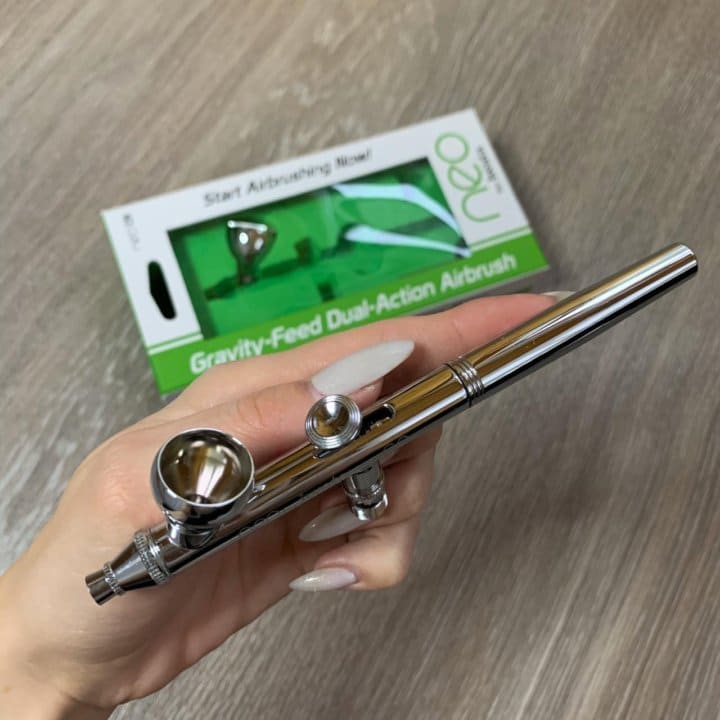
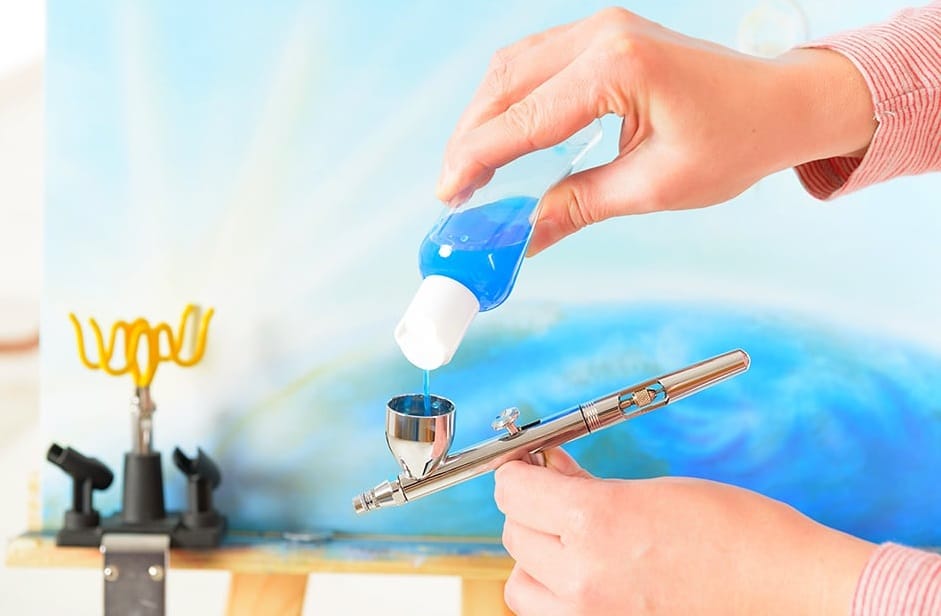
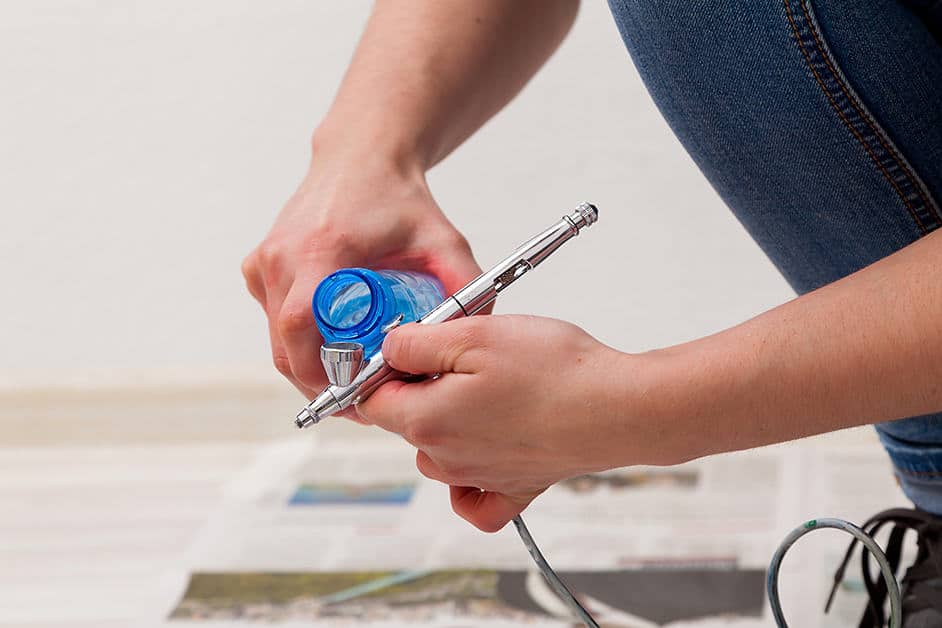
Step 3. Add the Paint to the Mixing Cup
Get a mixing cup and introduce the paint you intend to mix. Notably, there are different airbrush paint mixing ratios, so be mindful of that as you put the paint in the cup. Some ratios could even be as high as 3:1 and 4:1. Consequently, it’s likely the thinner will increase the volume of the paint significantly. As such, you have to be careful about the amount of paint you add to the mixing cup, so you ensure there’s enough space for the thinner.
Ideally, you should go through the thinning instructions on the paint can or container even before putting the viscous fluid into the mixing cup.
Step 4. Add Thinner
Measure and add the right amount of thinner to the mixing cup. Admittedly, some paints might not come with instructions. In such a case, you’ll need to add small portions of the paint reducer while stirring the mix until you find the right consistency. This is more or less a trial and error method, but it works pretty well.
You also need to stir the mix even if you’re working with the exact ratio provided. A mixing stick will be ideal for this. Also, the stick should be clean and free of dust and other impurities, and just like distilled water, this will keep you from introducing impurities that might clog up your airbrush.
Step 5. Check the Consistency
Even with instructions, there’s always the chance that you might get the mix wrong, and you can over-thin or under-thin your paint. The good news is both these situations can be corrected.
Under-thinning is the more problematic option since the paint may clog your airbrush equipment, leaving you with lots to do before you can unclog it. Of course, the solution is simple: add more paint thinner in tiny bits while stirring until you get a fluid consistency.
You can then test the paint by using it on some scrap material. If it’s over-thinned to the point of being watery. You fix the situation by adding more paint.
Step 6. Get Rid of the Impurities
If you’re worried about impurities, you can strain the mix into another cup using a fine sieve to get rid of them. Nonetheless, you’re likely done with the process and can add the paint to your airbrush.
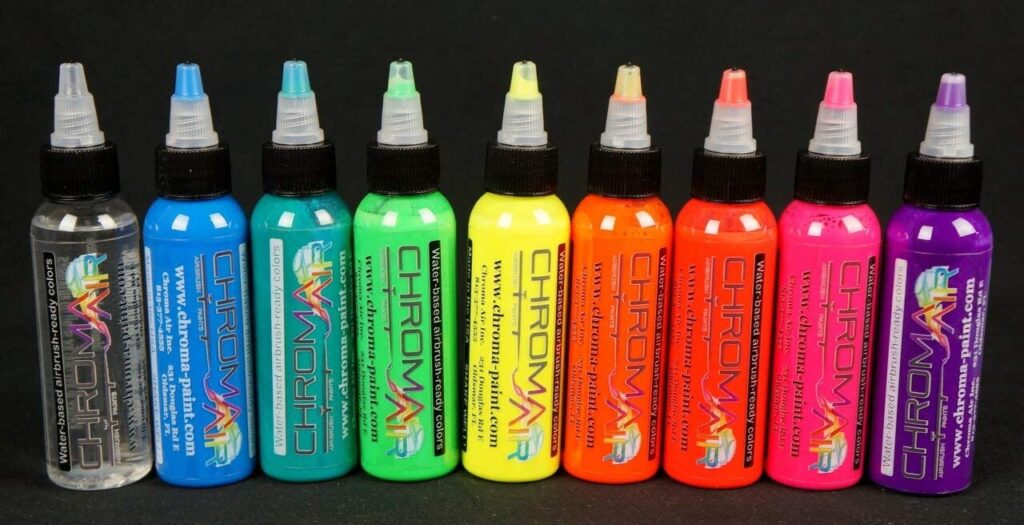
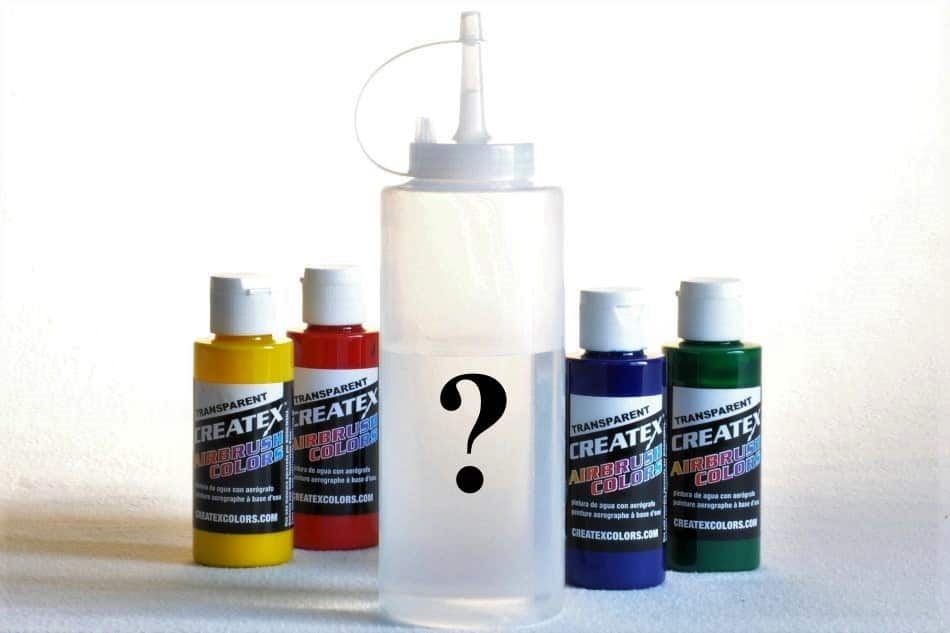
For a more specific look into how to mix Createx and other airbrush paints, you should keep reading the sections below. Speaking of Createx as a popular airbrush paints brand, users recommend the Createx ready-use airbrush set that includes 11 opaque colors that can be thinned. Although this set can be used for fabrics and even clay, the recommended surface to use the paints on is wood.
Water-based paints use water as opposed to oil to carry the binders and paint pigment. As such, the proper solvent to use would be distilled water. Notably, they include acrylics and latex paints, meaning that if you want to learn how to mix or thin acrylic paints for your airbrush, this section should tell you how to do it.
Notably, most acrylic paints are high-flow options that should work well with your airbrush. Users even recommend the Golden acrylic high-flow set for great results while painting. It’s a set of 10 bottles with varied lightfastness, although you’ll find this information indicated on each bottle.
Lightfastness is described by the Artists Network Trusted Source Lightfast Paint and Lightfastness Ratings | Artists Network Lightfast paint resists fading when exposed to sunlight and other forms of ultraviolet light. How can you tell whether your paint is lightfast? www.artistsnetwork.com as the stability of the paints when you expose them to UV light such as the sun. A lightfast rating given as a (I) is excellent, while paints with a rating of (III) show poor resistance to fading when exposed to the sun.
So for acrylics, there are a couple of things to note. One is that distilled water is likely the best thinner to use. It is cheap and widely available. You could even have some spare bottles of the same in your home.
As for the airbrush paint mixing ratio to use a 1:1 is preferred meaning equal amounts of water and acrylic paint.
There are a few alternatives to water, and one of them is acrylic thinner. It’s available in the market in various package sizes depending on your mixing needs. Also, it has the added advantage of not affecting the paint’s binding properties. You can use it in a 1:1 ratio or lower with regard to the amount of thinner you’re using. However, the most recommended setting is to add between 10% and 20% of the thinning medium.
Other alternatives are rubbing alcohol, and even Windex, a type of surface cleaner that has been proven to work. However, these are DIY mediums, and if possible, it’s better to work with water and the right kind of acrylic thinner.
When it comes to latex paints, you’ll find they’re slightly thicker than most other paints, so it’s often not a good idea to dump them straight into the airbrush. They might clog up your needles and necessitate some clean-up and trouble-shooting before you can use your equipment again.
Nevertheless, just like acrylics, you can use distilled water.
You’ll need 10% water to thin most latex paints or even 20% or 30%, depending on your airbrush and equipment.
Nozzles and needles in your airbrush come in different sizes and work depending on your needs. For instance, thicker, more viscous paints will flow more easily through thicker needles and larger nozzles. Alternatively, if these two are relatively small, you need to thin your paints a little more to ensure they get through.
However, if you over-thin any of these paints, you risk affecting the adhesive attributes, and it could peel off easily over time.
As mentioned above, most airbrush paint manufacturers also develop and create their own reducers/thinning mediums with varied benefits. For instance, you have thinning mediums that improve adhesiveness, therefore, making them ideal when you’re painting on non-porous surfaces.
There are also other solutions besides thinning mediums. If you can’t get the right mix of paint thickness and flow, then a flow improver is ideal. They won’t thin your paint, but they’ll make it more likely that your paint will go through the airbrush without any hiccups.
Auto Air Colors is one brand of water-based colors that shows just how essential it is to consider the needle size.
Depending on your needle size, the thinner to paint ratio may differ. Of course, there’s also a branded reducer from Auto Air that works with their paints. If you’re using a 0.3 mm needle with their transparent colors, the ideal mixing ratio is 3:1 for the reducer and paint in that order.
If you’re using the same transparent colors, the same reducer, but with a smaller 0.2mm needle, the ideal mixing ratio is 5:1 in favor of the reducer. Additionally, these ratios might differ depending on the color and the color series. Consequently, it’s important to do some research before using a different color.
Solvent-based/oil-based paints are a different matter altogether. They come in different brands and varieties, and more often than not, the reducer you’re using is specific to them. Consequently, you can’t pick out one thinner and crown it the best for when you’re using an airbrush with your solvent-based paint.
This makes it necessary to read the instructions provided with your paint, so you know which thinner to use. Worth mentioning is that the thinners available may be chemical-based. Consequently, you need a lot more care when mixing them. This may involve wearing protective clothing such as gloves or masks, so you don’t get them on your hands or breathe in the fumes.
Airbrush Paint Mixing Ratios
For solvent-based paints, both the airbrush mixing ratios and the type of reducer change a lot. Consequently, it’s almost impossible to include that information in a table. Conversely, with water-based paints, the situation is much simpler, as shown in the table below.
| Paint | Thinner | Ratio | Pressure |
| Vallejo Model Color | Vallejo thinner | 3:1 | 20-25 |
| Polly Scale | Distilled water | 3:1 | 15-25 |
| Pactra Acrylic | – | – | 25-30 |
| Humbrol | Water | 1:1/2:1 | 15-20 |
| GunzeSangyo | Alcohol/ Distilled Water | 1:1/2:1 | 20 |
| Testors ModelMaster | Universal thinner | Very little thinner | 18-20 |
| Lifecolor Acrylic | Distilled water/Washer fluid | 1:2 | 20-30 |
There are, of course, more brands available with different mixing requirements as well, but these are some common options.
Figuring out how to mix airbrush paints is essential if you’re going to achieve the color consistency and paint results you want. It will also help keep your airbrush equipment functional. Admittedly some trial and error may be involved. However, for the most part, it can be broken down to a science where all the steps are predetermined. Also, it helps to read the instructions that come with your paints as that can provide some extra clarity on the mixing ratios to use.