3D printers are the present and future of life-like printing. But not all 3D printers produce quality 3D prints as expected. You may take a gamble and end up with an expensive printer that you can’t use. Don’t take the risk. Instead, choose the best 3D printer under $500 from our list of top 3D printers.
Our 3D printers are special because they are built with the end product in mind. They come in a range of sizes to suit different applications, so it’s easy to identify one that’s small or big enough for your working space and printing needs. Because of their high resolution, they bring out the details that make every 3D print look as real as possible. And they are compatible with a variety of filament materials, from the popular PLA and ABS to the more exotic wood and carbon fiber. Sound like your dream 3D printer? Read on to discover more.
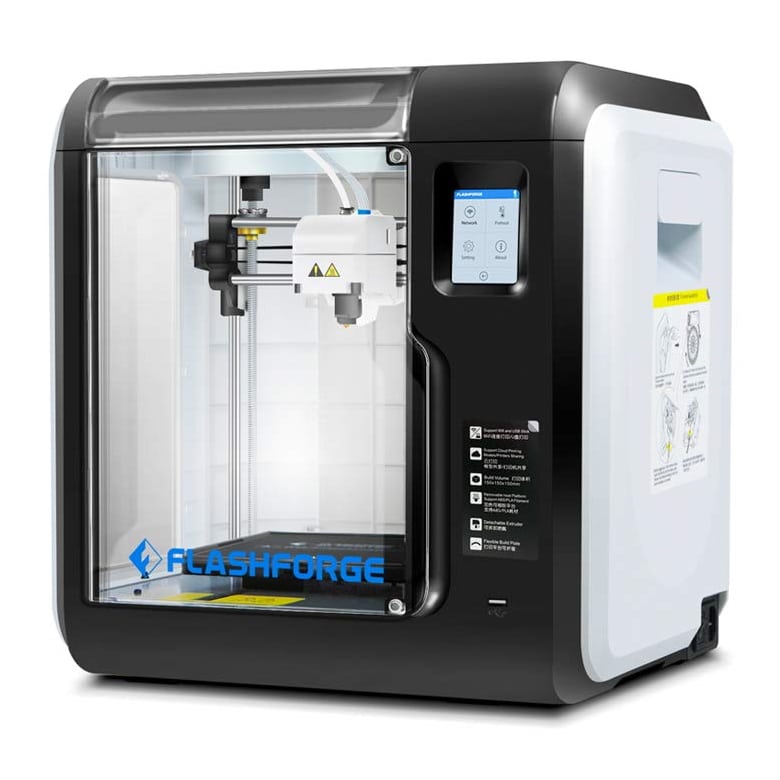
More features: 0.1-0.4 mm layer resolution, 212°F max bed temperature, detachable nozzle, removable heated build plate, filament detection, touchscreen
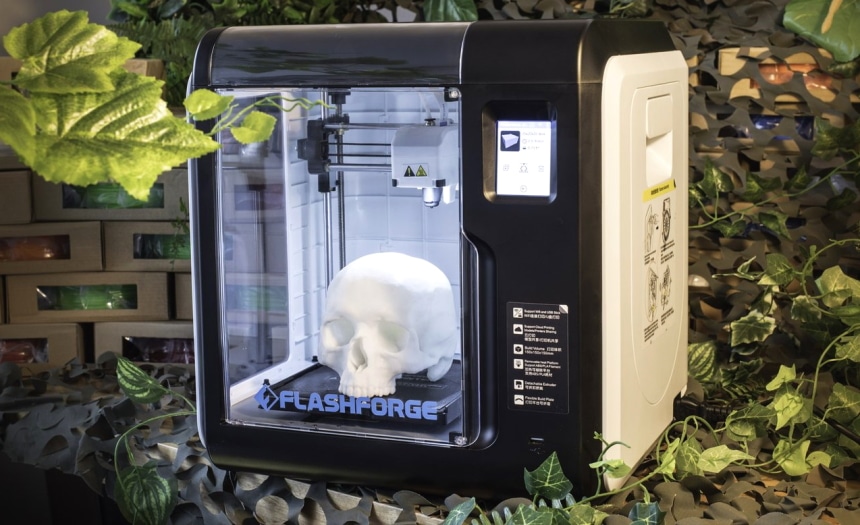
The FlashForge Adventurer 3 is, arguably, the best affordable 3D printer in the $500 price range. It’s beginner friendly and just as convenient to use for more experienced hobbyists. One of the things that stand out about this printer is that it comes ready to use. Just put in your filament and plug it in. The nozzle heats up fast, attaining 392° F in just 50 seconds. This means you won’t sit around waiting for the printer to heat up. The nozzle is also easily removable, and this makes it easy for you to take it out and clean it. You only have to press the two black components on each side of the unit holding the nozzle to loosen the nozzle and remove it from the printer. Putting it back is equally easy.
The build plate is removable, which makes removing your printed items from the plate pretty straightforward. In our case, it took a bit of effort to remove the plate because it was quite tight. Just take your time when removing the plate and be patient. An extra advantage is that the build plate is leveled at the factory, so you won’t have to manually level it for every print job. However, you may adjust and calibrate it if need be.
It’s compatible with a range of filaments, including PLA, ABS, wood, and metal. It also has an auto filament loading system, which stops the printing process if the filament runs out or isn’t flowing like it should due to a malfunction. Simply refill the filament and the system will automatically detect it and resume printing.
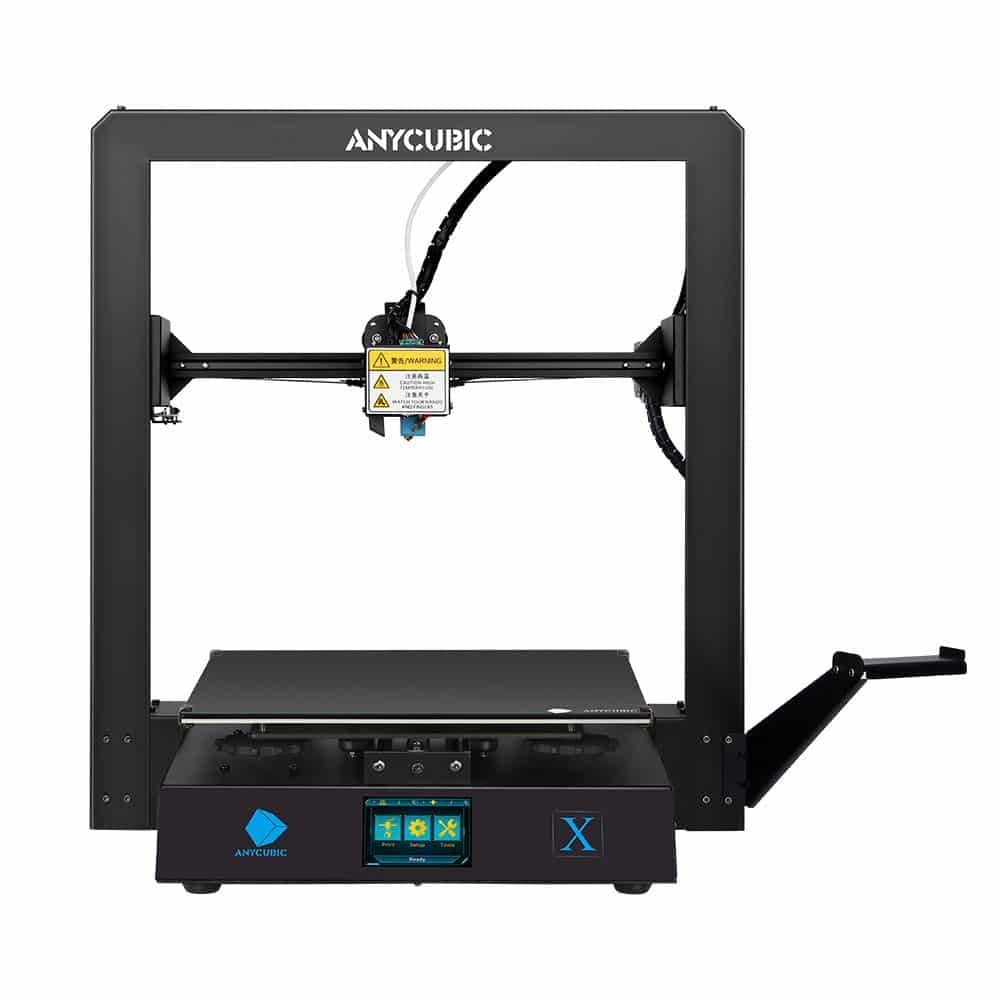
More features: dual Z axis, 0.05-0.3 mm printing resolution, 0.4 mm nozzle diameter, filament detection, touchscreen, SD-card connection
A solid, cheap 3D printer under 500 and one of the most reliable printers you can buy, the ANYCUBIC MEGA X is built with longevity in mind. Its sturdy build is designed to serve you for years. The rigid metal frame ensures the machine doesn’t shake or vibrate during printing, and the output quality doesn’t disappoint either. To guarantee precision, the printer is built with a dual lead rail design on the Y axis and a dual screw design on the Z axis. Additionally, the Y axis design improves the stability of the heat bed, while the Z axis design minimizes the possibility of printing errors.
Its extruder is powerful and is compatible with a range of filaments, including PLA, ABS, TPU, HIPS, and wood. It has a filament sensor that automatically detects the filament and initiates the printing process. If filament runs out or breaks, the system stops the printing process and picks up when it senses the filament following refill or replacement. Should you suffer power loss, the printer will pick up from the last recorded position when power resumes. You’ll be operating the machine via a TFT touchscreen that is highly responsive and as easy to use as a smartphone.
The printer uses SD-card connection to load files, and you can safely swap SD cards without needing to turn the printer on and off each time. The plate has a coating that holds the prints in place, and once they cool post printing, they come loose and you can remove them easily.
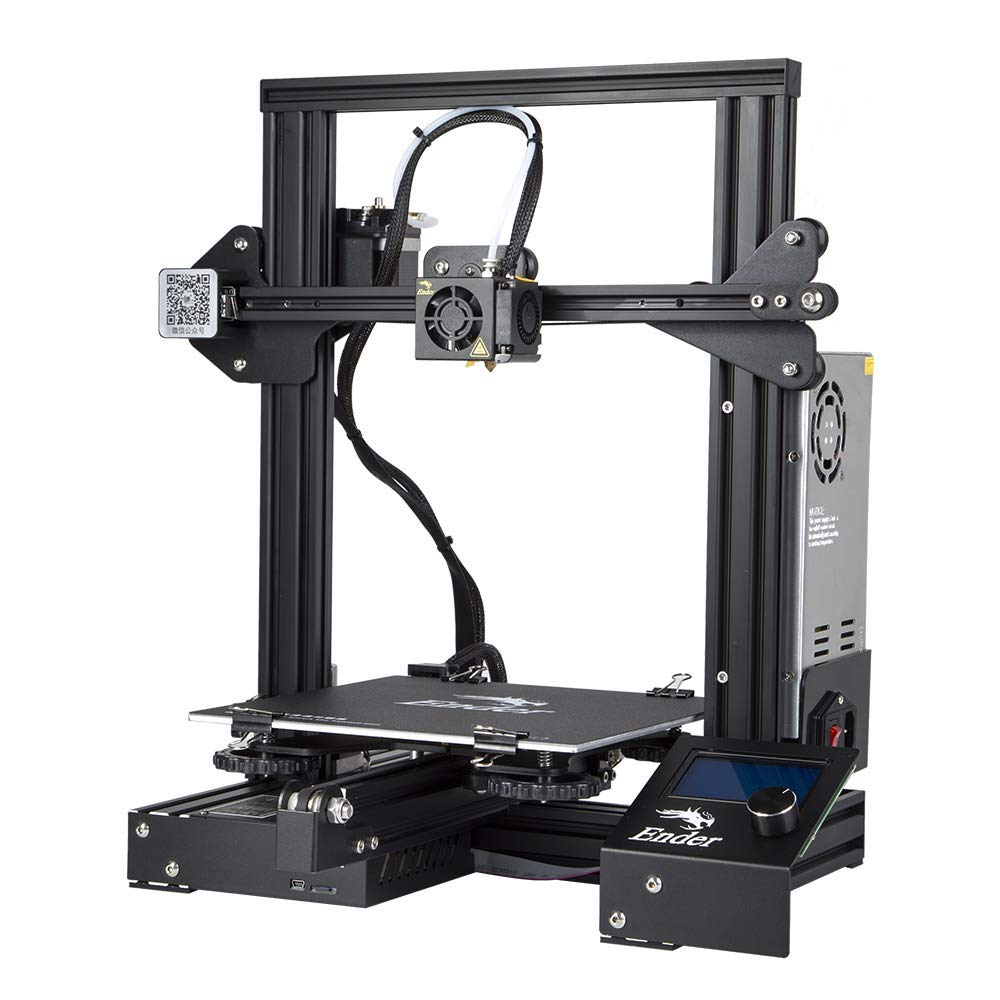
More features: 230°F max bed heating, power loss safety, 180 mm/sec printing speed, 0.4 mm nozzle diameter, SD-card compatible
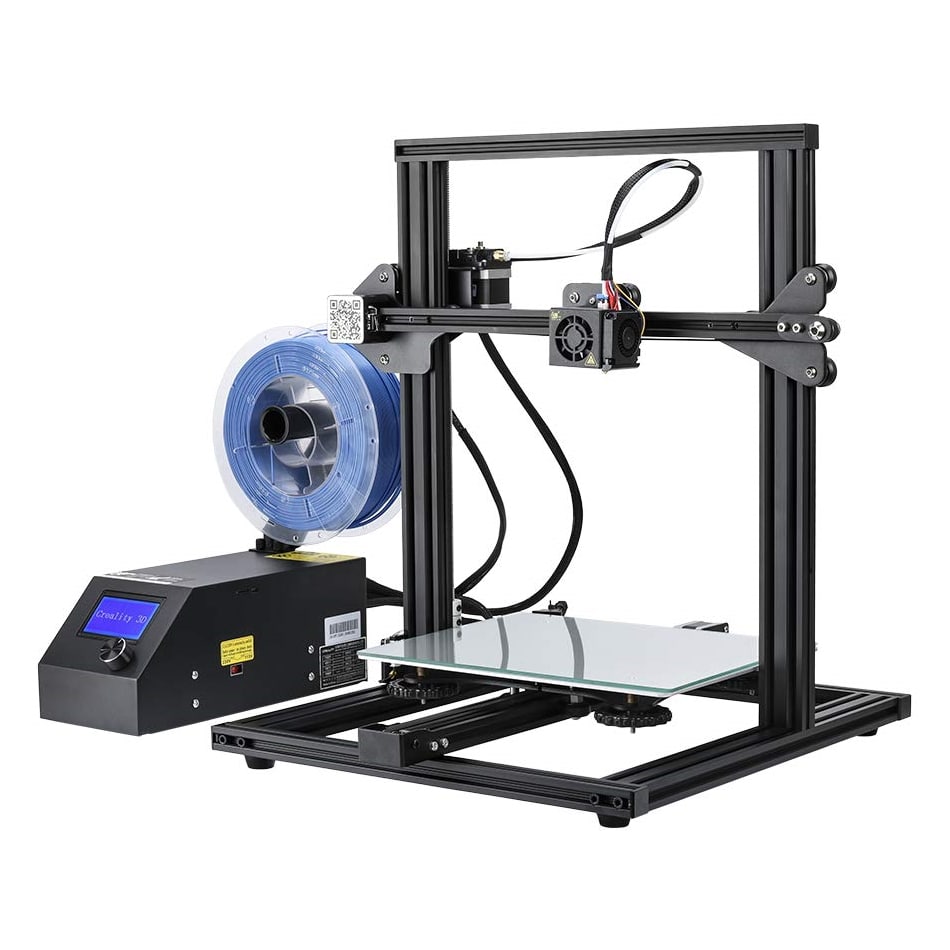
The Creality Ender 3 is designed to make printing simple. It comes semi-assembled, so you have to assemble what’s remaining on your own. You can make your prints directly on the build plate or on a piece of mirrored or borosilicate glass that sits on the build plate. You will need to set the Z stop in such a way that it homes with the nozzle and is close to the build plate. Then level the build plate for the best print quality. The user guidelines are quite scanty, which poses a problem for the self-learner who is just starting out and doesn’t know their way around 3D printers yet. Experienced 3D printer users will figure out how to do things, but newbies will get frustrated. It would make a world of difference if the instructions were clear and detailed.
That said, it’s a delightful machine to use once you figure everything out. The X, Y, and Z axis are well designed and align properly when you position the uprights correctly. It uses a standard 0.4 mm nozzle diameter, meaning it can print a diverse range of objects. The hot bed heats up to a maximum of 230°F, and it heats up fast to reach 110°F in only 5 minutes. The power supply is safety protected to prevent overheating and shorting.
This budget 3D printer under 500 uses advanced extruder technology to minimize poor extrusion. The extruder accepts 1.75 mm filaments and is compatible with PLA, ABS, and TPU.
More features: aluminum frame, 100 mm/sec printing speed, plate adjusting knob, automatic leveling
If you’re looking for a 3D printer that yields great results and is user friendly, get the Creality CR-10 Mini. It features an aluminum frame that is sturdy and durable. It uses PMO engineered thermo-plastic wheels to maintain dimensional stability. And because it doesn’t have any metal-on-metal rods, the printer runs rather quietly, such that you can comfortably work in the next room while it’s running.
Automatic leveling, complemented by ultra large leveling nuts, means you never have to struggle with leveling the build plate. Plus, there is an adjusting knob that you use to adjust the plate to position it right.
This printer has a considerably large build volume, and has the capacity to print items that are as big as 11.8 x 11.8 x 8.6 inches, making it a perfect choice if you wish to print bigger creations. It accepts 1.75 mm filaments and is compatible with an impressive variety of filaments, including PLA, ABS, TPU, wood, copper, carbon fiber, and gradient color. With a printing speed of 100 mm/sec, it prints at a moderate speed, ensuring that you get great quality prints at all times, regardless of the type of filament you’re using.
It’s an easy-to-assemble unit that takes as little as 10-15 minutes to put together. It does not come with a right side bracket, but the Z axis mounting screws provide the support needed to keep the printer stable and properly functioning.
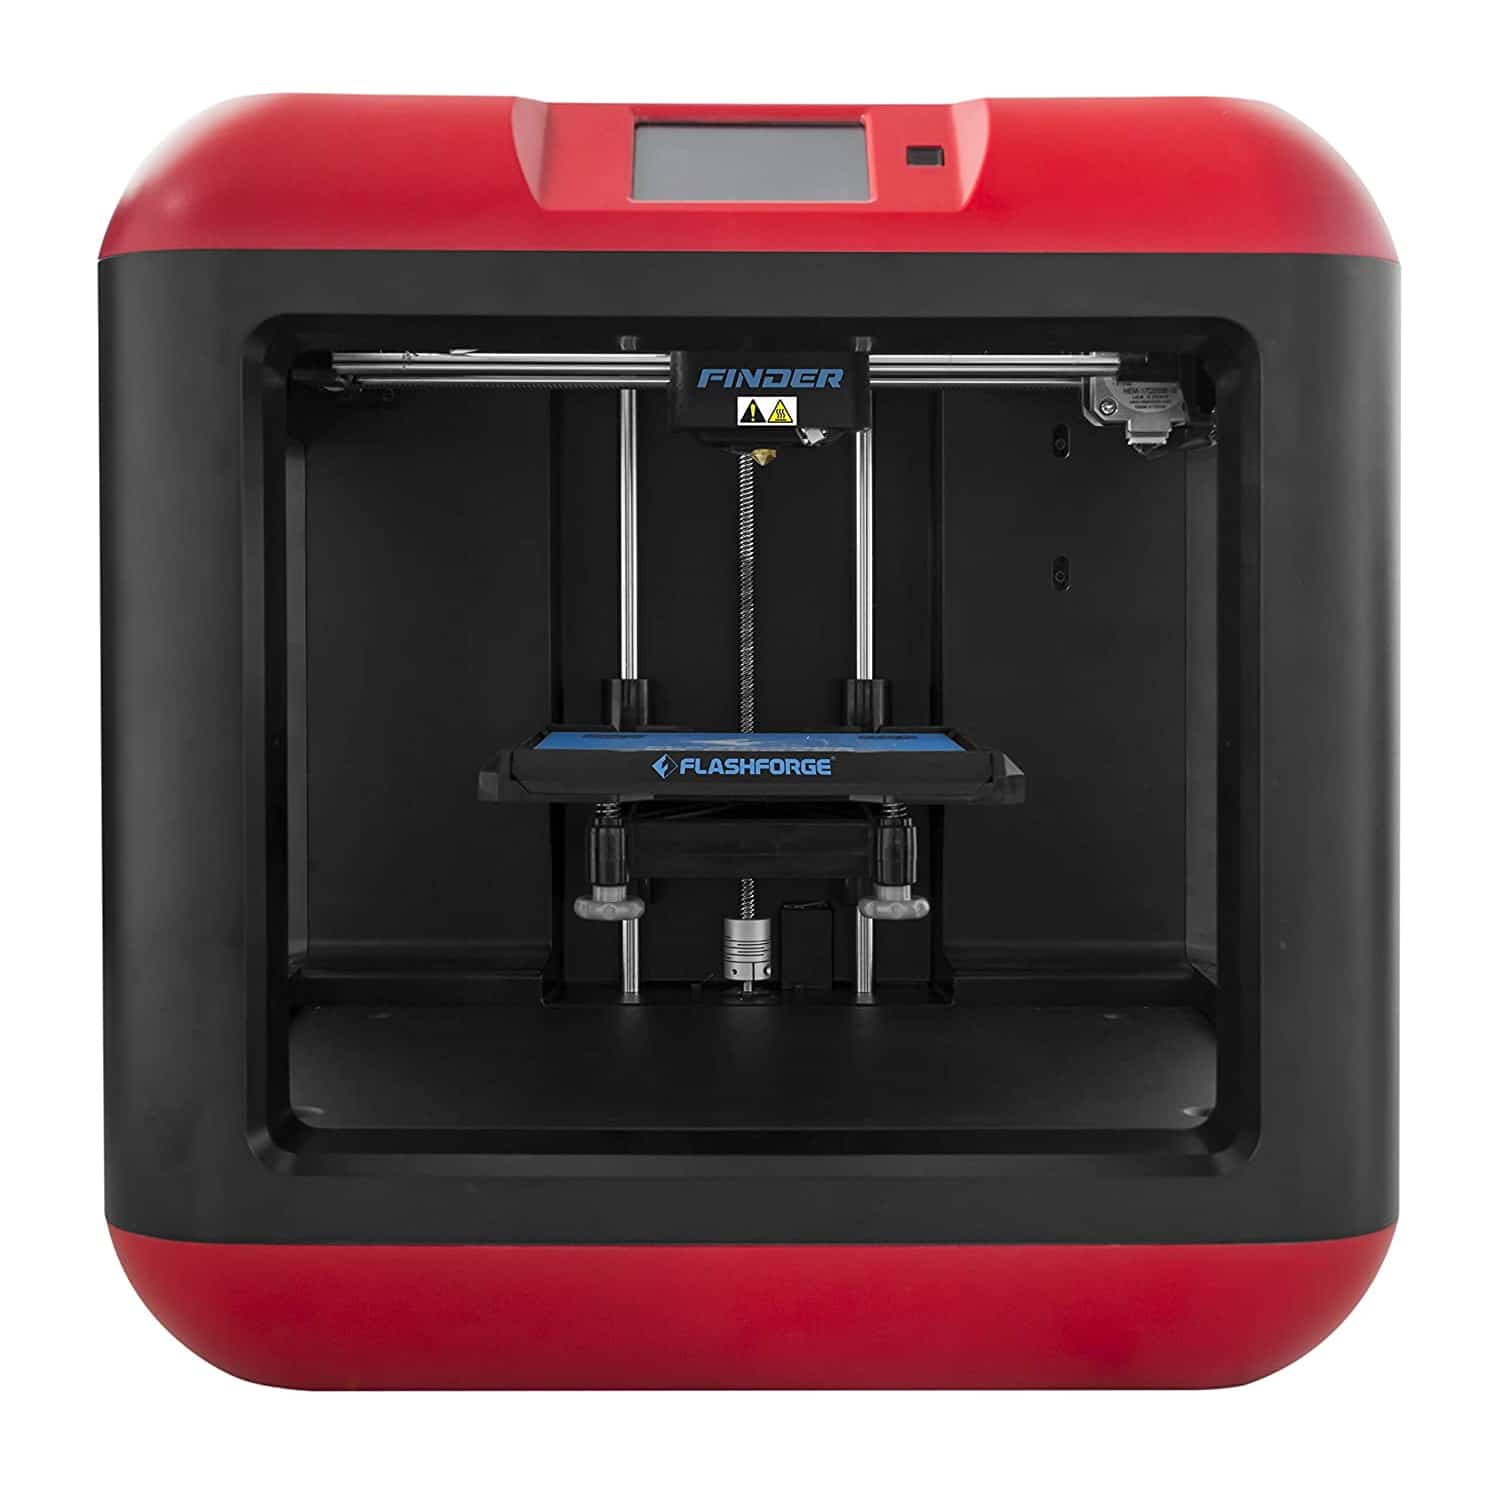
More features: USB connection, 3.5-in touchscreen, 0.004-in resolution, Wi-Fi connection, non-heated plate, enclosed design, 0.4 mm nozzle diameter
The FlashForge Finder is built in an enclosed design, where all the heated components are hidden inside the printer shell for safety and protection. It’s made in a unique design with no high temperature components or wires and a non-heated plate.
It uses an advanced extruder system with an upgraded nozzle, which is designed to give the highest quality models possible.
To speed up the cooling process, the printer relies on the Finder four-sided annular air supply structure, which increases air flow by bowing air on every side of the plate. This is supplemented by a cooling fan that minimizes the likelihood of jamming in the extruder.
To ensure precise leveling, the printer uses the Finder calibration servo. This detects the distance between the plate and the nozzle and adjusts it accordingly until it’s accurately leveled. You only need to follow the touchscreen commands to level the plate, which takes the hard work out of the process, making it possible for anyone, including beginners, to level the platform precisely for better print quality. The build plate itself is removable, and this makes removing the finished prints easy. Simply slide it in and out to insert or remove the plate. This detachable design reduces the likelihood of damaging the build plate as you remove the prints.
This printer runs at a maximum of 50 dB and is quiet enough to ensure that others who may be in the vicinity are not disrupted in their activities.
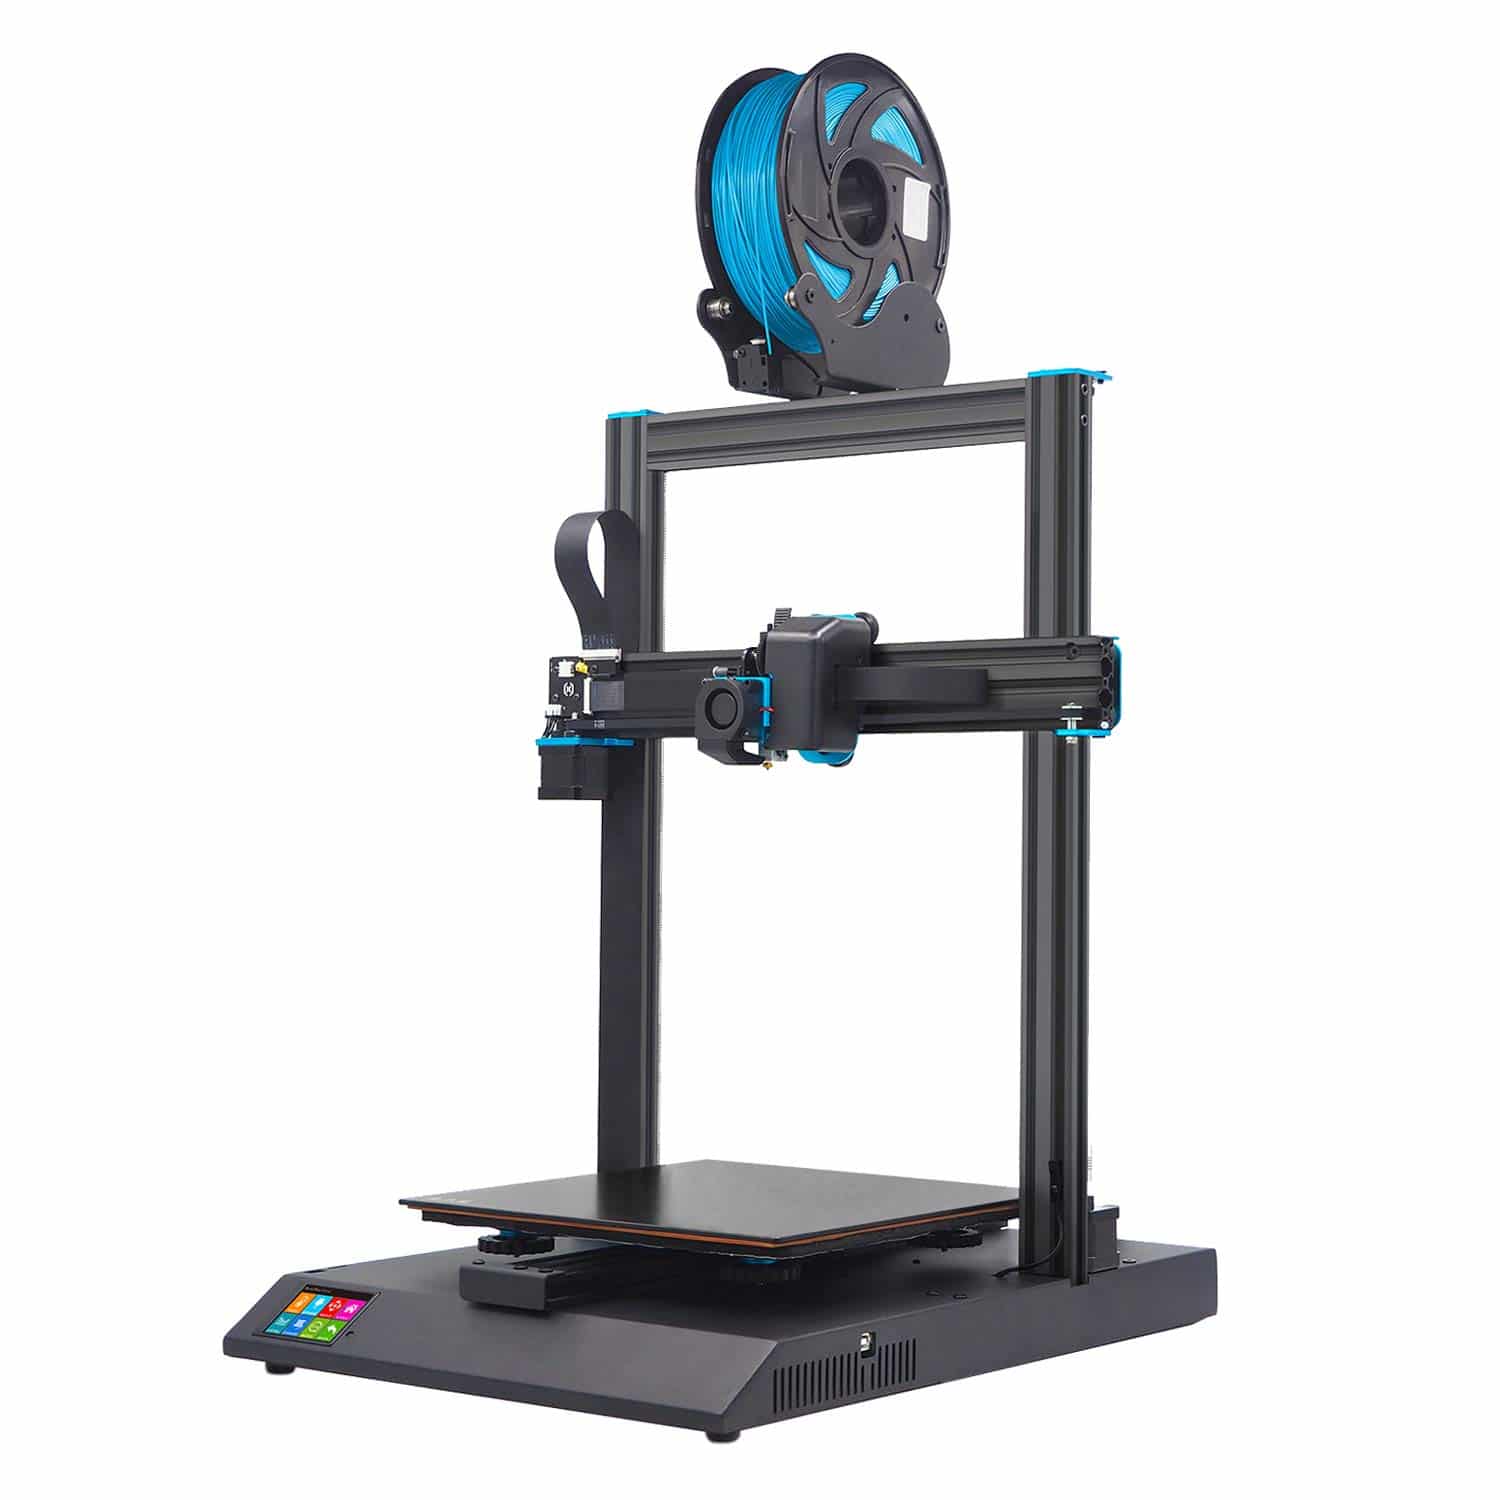
More features: dual z-axis, 230°F max bed heating, 0.1 mm layer resolution, 0.4 mm nozzle diameter, 250 mm/sec printing speed, USB connections
The Artillery Sidewinder X1 is made in a simple, easy-to-operate minimalist design. It uses a Direct Drive extruder with Volcano nozzle to ensure fast and flawless extrusion. This advanced extruder design ensures better control over the extrusion at all levels.
The hot bed has a maximum heat capacity of 230°F and heats up fast, reaching 80°C in 80 seconds and rising to 110°C in 130 seconds. You’ll have an easy time leveling the build platform, and it’s all thanks to the large leveling wheels. The size alone makes the wheels super easy to adjust, but they are also positioned in an easy-to-reach spot.
The printer has a synchronized dual Z-axis and a highly stable X axis. Both are always level on each end, thanks to the excellent FFC cabling the system uses. The only shortcoming about the cabling system is that it is made up of ribbon cables, which unfortunately, are not fastened into place using locking connectors. You have to be careful while printing and watch out for any loose cables which can affect the process. At worst, they have the potential to short the electric components, so it’s best if you install clamps to hold them in place.
One of the things we like most about this printer is its high resolution. At 0.1 mm, you are looking at a machine that produces prints that are rich with detail. Just be sure to keep the speed lower to get the best print quality.
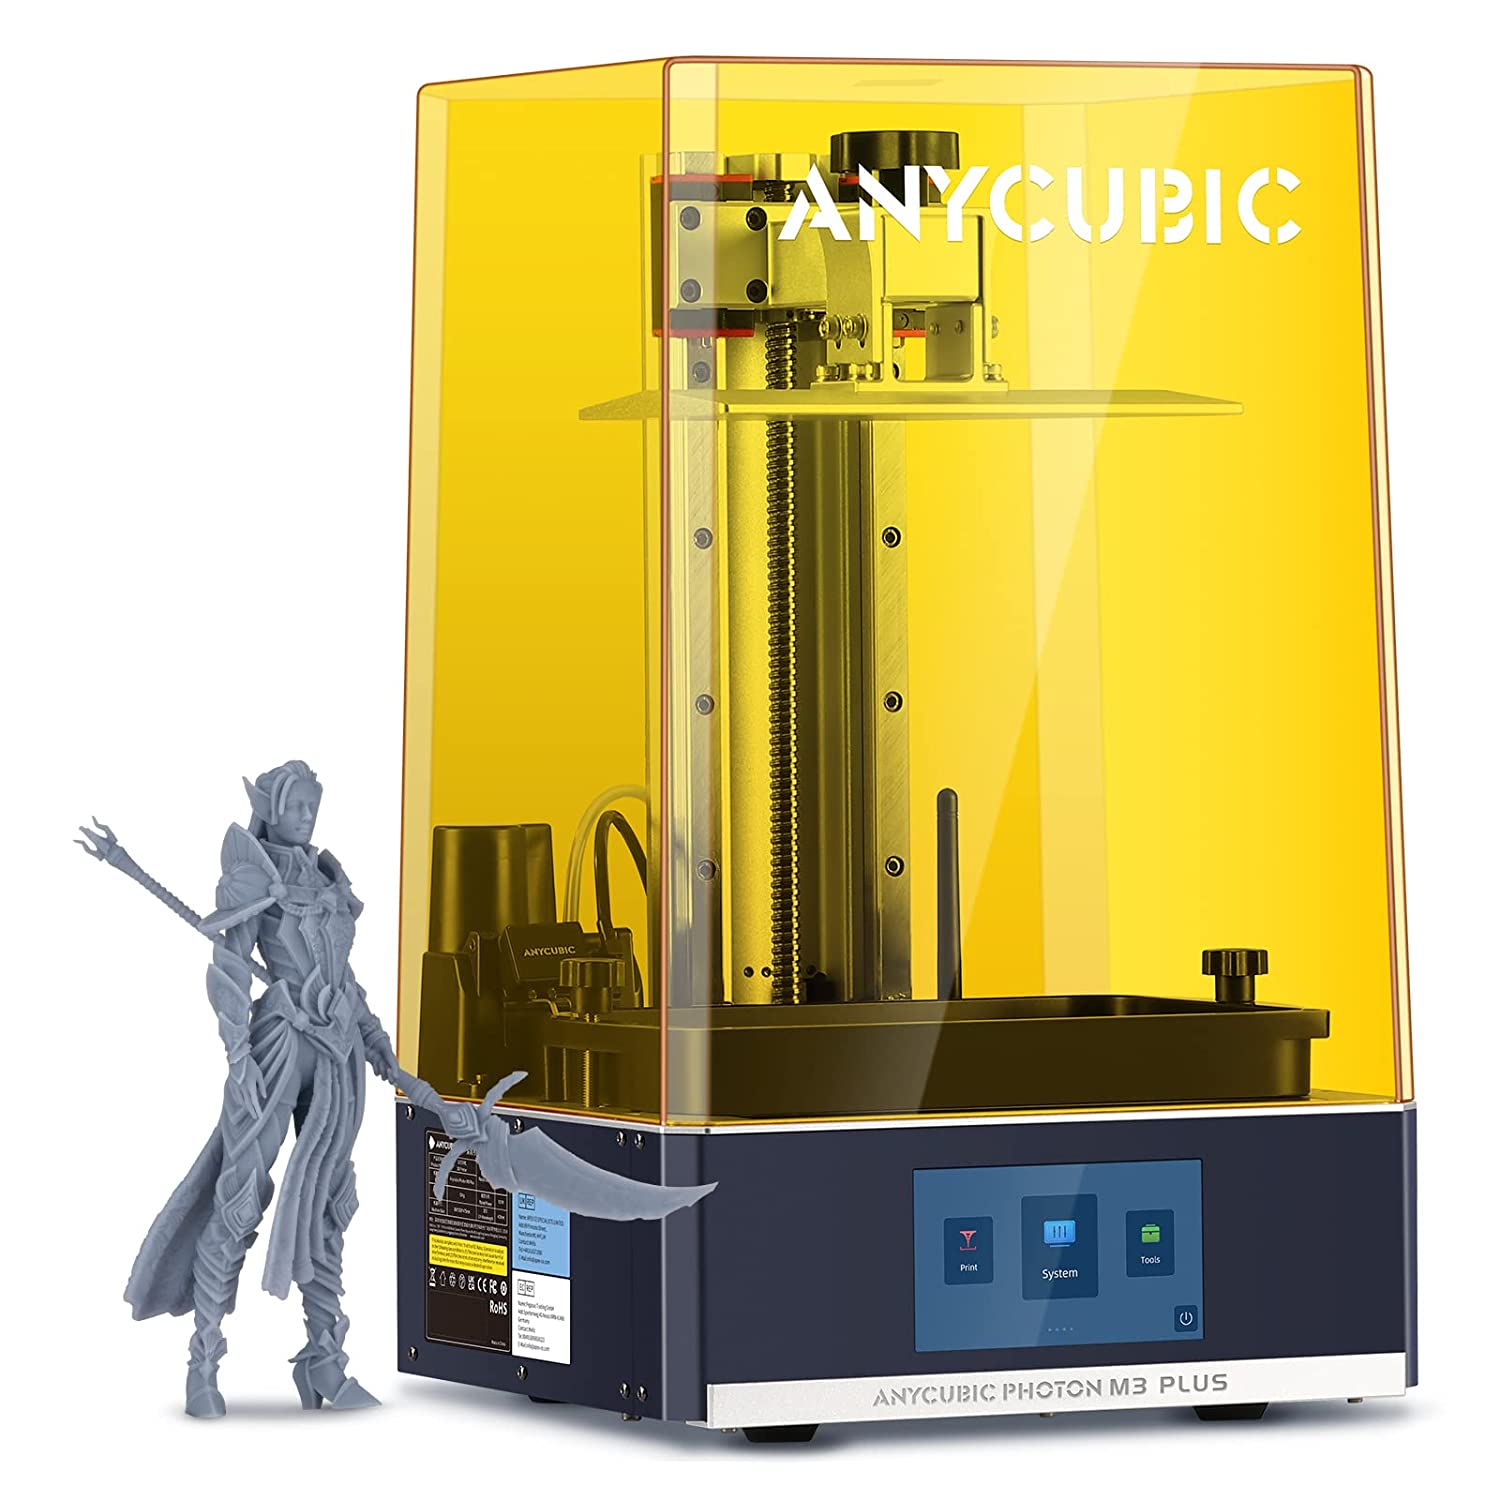
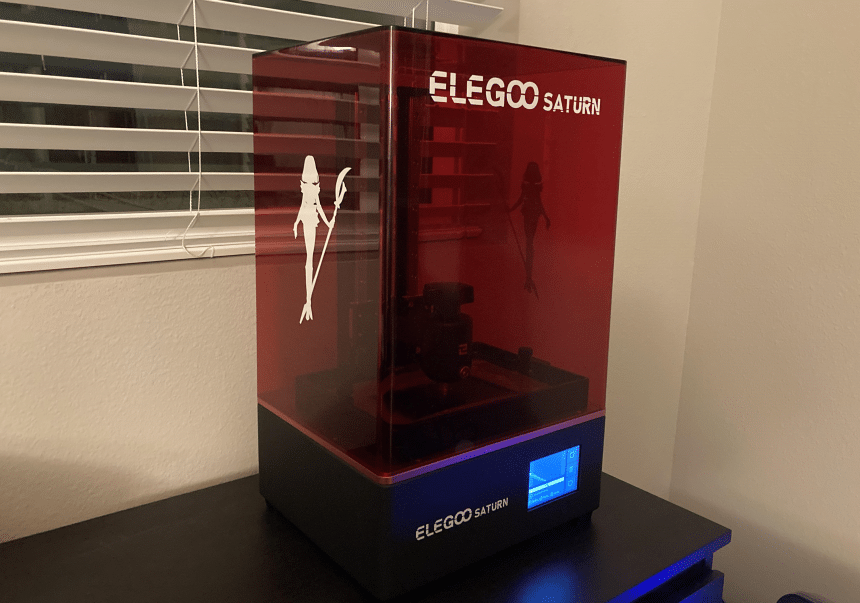
More features: dual Z-axis, air filtration, 2K resolution, UV integrated light, 20 mm/hour printing speed, USB-connection
The ANYCUBIC Photon S features some unique features that boost its effectiveness. For starters, it is designed for use with resin, and being that resin is photosensitive, the printer is shielded by yellow tinted glass on all sides to block UV rays that could cause the resin to harden. What we love most about this printer is how well designed it is: It has advanced LED lighting, the touch screen is highly responsive, and leveling is precise. It requires you to adjust the plate in very specific ways, but the guide on how to do this is clear. The bottom line is that this is one of the 3D printers with the best output quality on the market. And if you do everything right as outlined by the manufacturer, you’ll have yourself excellent prints every time. One thing you have to know is that older Phyton S models come with ANYCUBIC’s slicing technology, which is compatible with the popular Chitubox. New models, however, come with and are locked to the .pws software, meaning you can’t use any other software on the printer.
This is an easy-to-set up model that comes 95% pre-assembled, so you only have to finish three assembly steps: assemble the build platform, level the printer, and assemble the resin vat, ensuring that the FEP film is correctly tightened. And you’re ready to print. To ensure stability and keep the platform from shifting during printing, the printer uses a dual Z axis rail.
This printer has dual built-in fans that help disperse activated carbon for enhanced ventilation and odor control.
Now that we’ve seen how specific 3D printers work, let’s dive deeper into what you can expect from such a printer, what you can do with it, how to use it, how to care for it, and most importantly, how to choose the best model.
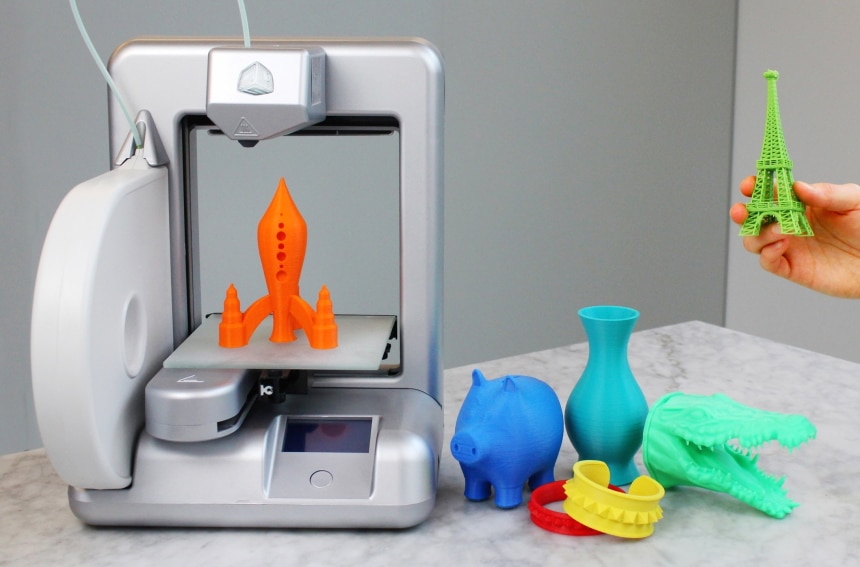
Inexpensive 3D printers have all the features you get in more expensive 3D printers. The only difference is that they are designed for small volume productions, and therefore they are best for personal use as opposed to business use. Their build volume is small, too, meaning they can only print small items. And because they have a much lower speed than professional 3D printers, they take longer to print things, which makes them unsuitable for business. But they are handy in printing the odd mount, stand, or whatever else a friend, family member or neighbor needs.
You can use them to make any number of prints for use around the home or office, and they are a great option for making replacement parts for your kitchen and home appliances.
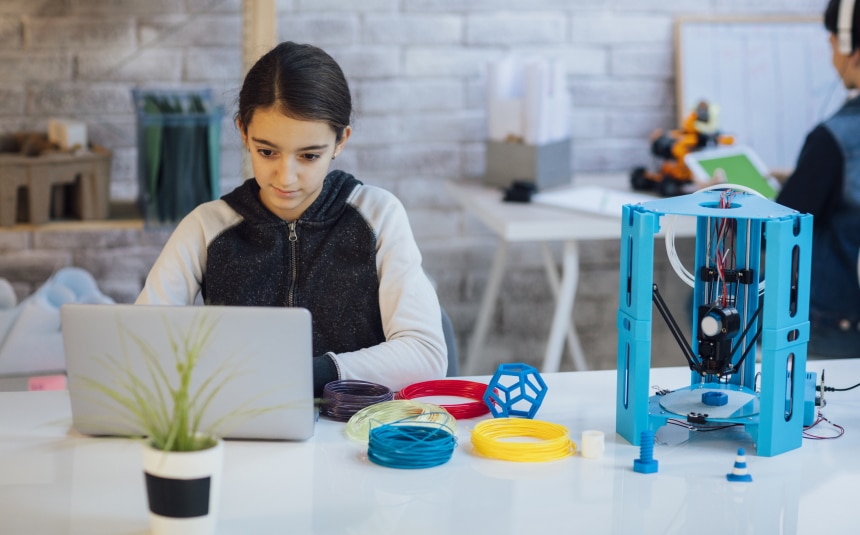
With a cheap 3D printer, you can print all kinds of toys and educational moulds for your little ones. There is no better way to get your kids unique toys. They will certainly be excited to have play items that are different from what they are used to getting from the stores.
If you or someone in your household is a cooking enthusiast, they can use a 3D printer to come up with molds for different food items they can prepare.
For your very first print, you want to choose a small model since it’s literally your test print. A small model will print fast, and you can stick around to watch the printer and see how the layers are laid from first to finish (not because there’s need to, really, but so you can quench your curiosity).
Begin by leveling your build plate.
Add adhesive if it’s needed. If your bed plate comes with an adhesive coating, you do not need to add extra adhesive.
Load the filament as directed in your printer’s user manual.
Connect your USB, SD-card or Wi-Fi to load the 3D models you want to print to the printer.
Now you’re ready to turn on the printer and start printing.
Watch to see how the layers form and ensure that the material is not smearing or dropping in amounts that are too little. If either scenario occurs, you’ll need to stop the print and adjust the positioning of the nozzle so it’s not too close or too far from the plate. It may take a while to figure out the sweet spot that delivers just the right amount of material, but you’ll get there soon enough.
If you’re printing a larger model, it will probably take hours, so watch to see if the initial layers are setting alright, and then let it work its way up. You can monitor from time to time just to access the progress and restart the printing if it stops midway due to power loss or filament depletion.
Ensure that your 3D printer is well lubricated at all times so the moving parts can work as they should. You don’t need to lather it in oil. Just a drop or two weekly (depending on how frequently you use the printer) is enough.
Clean the nozzle regularly to keep it clog free and boost its longevity. To do this, heat up the printer. Then push a needle or wire through the tip of the nozzle to remove any filament residue that may be clogging it.
Clean the build plate after every use. This gets rid of all the glue and any product remnants that are stuck on the plate. It’s important to remove these as they can cause inaccuracies in your prints.
If the surface of the build plate gets scratched or otherwise damaged, peel it off and replace it with a new one. Using the scratched surface will undoubtedly affect the quality of your printed models.
Use a small fine-toothed brush (a toothbrush works, too) to remove any material residue from the extruder rollers. If residue accumulates on the rollers, it will alter their shape, ultimately leading to poor extrusions.
Tighten the pulley screws regularly to keep the X-Y cabling aligned at all times. If you let the printer run when the cables are loose, you’ll end up with improper prints, or worse, damaged printer components.
Below are the features you should consider when buying a 3D printer for $500 or less.
3D printers come in different sizes and weight. Before buying one, check whether you have enough space for it in whatever room you plan to operate it from. If you foresee yourself moving the printer a lot, choose a model that is light enough to carry and ensure it’s of a size that will fit in the various places you’ll be using it.
The nozzle diameter determines the printing speed and the quality of prints you get. A larger nozzle diameter prints fast, but the downside is that the prints it produces are of a lower quality than what you get from a small diameter nozzle. Smaller nozzles print at a slower speed, but they produce prints with rich details that are of a far superior quality.
It’s also worth noting that the smaller the nozzle, the more likely it is to clog. By contrast, larger nozzles are more resistant to filament clogs and therefore offer greater convenience during use.
The standard nozzle diameter for 3D printers is 0.4mm, a size that gives an acceptable balance of speed and quality. Larger nozzles commonly measure 0.6 mm and 1.0 mm. We also have small nozzles measuring 0.25 mm, and these are great for printing small items, like earrings, where detailing is crucial.
The build volume refers to the biggest object size the printer can print. Some printers have a bigger build volume than others. Filament-based printers, in general, have a bigger build volume than resin printers. Have a clear idea of the size of models you wish to be printing on your 3D printer and choose a printer that supports that size. Because 3D printers under 500 have a much smaller build volume than bigger professional 3D printers, they are limited in the size of models they can print. To solve this problem when creating a project that requires big model sizes, you can create your object in bits and then join all the pieces together to form the whole.
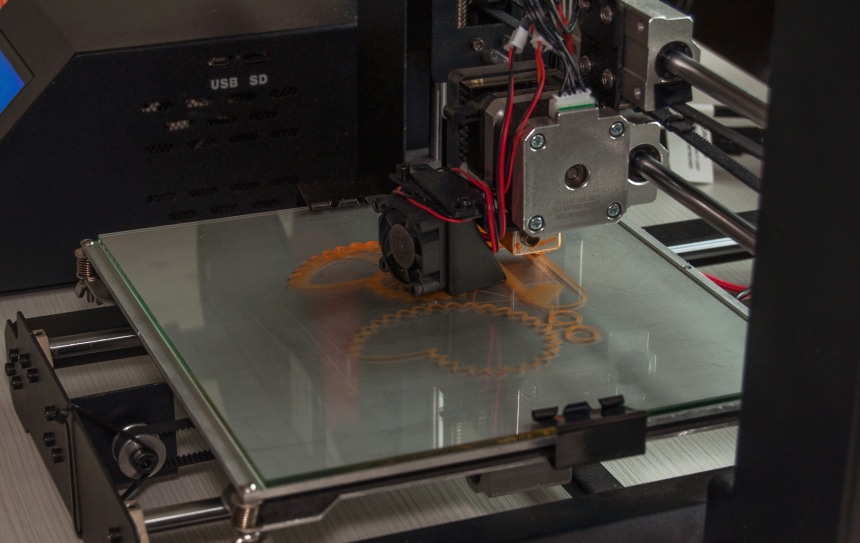
The most common material used to make the build plate in 3D printers is glass. It’s preferred because of its evenly flat surface, low heat conductivity, and how well it holds adhesives. Other commonly used materials are borosilicate glass, mirror tiles, and polypropylene. In all, manufacturers add an adhesive to the surface, which then holds the fabricated object. Numerous brands in the 3D printing sphere, such as ANYCUBIC, have also come up with build plate sheets made from steel, magnets, and nanoparticles to meet the same need.
The plate needs to be heated for the fabricated model to stick onto its hot surface, of course aided by an adhesive. Choose a printer with a fast heating time so that you don’t wait too long for the printer to heat up. Or go for a model that uses a non-heated plate, like the FlashForge Finder.
For the best print quality, you’ll need to adjust the build plate so that it sits level. Some printers come with an adjusting knob that makes this easy. Where possible, choose a 3D printer with a self-leveling feature. This way, the printer will auto-level itself and you won’t have to do it manually. Other than saving you effort and time, auto-leveling gives more precise leveling that yields a better-quality outcome.
Surprisingly, 3D printer warranties have a short time limit, at least when you weigh them against what the printer’s cost. The longest these warranties cover is 1 year, with a good number of models covered for only 3 months. Some even come with a return policy – usually 30 days – and no additional guarantee. This may be because 3D printer technology is evolving, and so the technologies behind it keep changing regularly. The important thing is to ensure you understand what you’re getting when you choose a particular model and the kind of support you’ll be getting from the seller and/or manufacturer. Some brands like ANYCUBIC offer lifetime technical support. Such an offer is attractive and makes the purchase worthwhile.
This refers to the technology used to transfer the files that need to be 3D printed to the printer. Some printers use USB connection, some use SD-card connection, and others use Wi-Fi connectivity. Some like FlashForge Finder use both SD-card and USB. With Wi-Fi connectivity, you can directly connect the 3D printer to your computer and print directly from the slicing software.
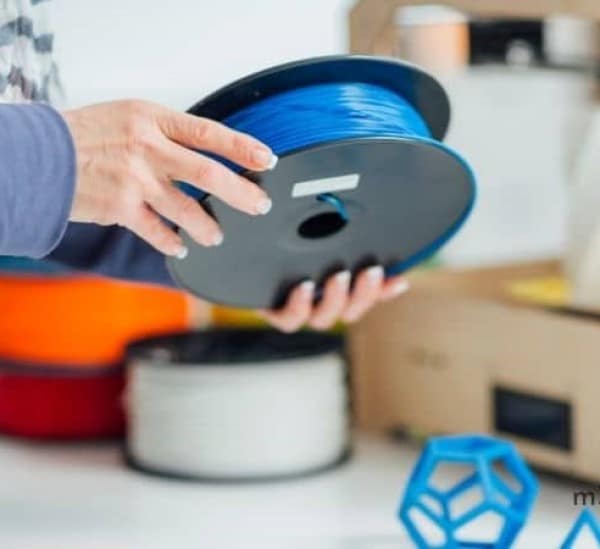
Check what filament size the printer accepts. Filaments come in 1.75 mm and 3.0 mm, and most 3D printers accept only one of the two sizes. Some printers are compatible with both sizes, so if you end up with one of these, you can use either filament diameter with the machine.
Consider also the types of filament the printer supports. Many 3D printers accept at least 2-3 filament types and are oftentimes compatible with as many as 6 or more filaments. At the very least, these printers are compatible with ABS, PLA in its various forms, and TPU. But an increasing number are also used with carbon fiber, resin, wood, metal, HIPS, and other materials.
In 3D printing, resolution is determined by numerous factors, namely the minimum feature size, the nozzle diameter, XY movement, and Z resolution. The Z resolution, also known as layer height, is the easiest to notice, and so many manufacturers use it to indicate the resolution. The layer height refers to the thickness of each section of the object as broken down by the printer. When you feed the file to the printer for printing, it breaks it down into thousands of slices, and then layers them down to form one big object. These are the layers we’re talking about, and the smaller the layers are the higher the resolution, meaning the lower the resolution number, the smaller the layers, and the higher the resolution.
This applies to all other parameters used to measure resolution. The smaller the minimum feature size – the smallest dot the printer can make – the higher the resolution. Likewise, the smaller treatment nozzle diameter the higher the resolution, and the smaller the movement along the XY axis the higher the resolution. FlashForge Adventurer 3, for example, has 0.1 mm layer resolution.
When it comes to 3D printers, higher printing speed doesn’t mean a better machine; quite the opposite, in fact. The slower the printer, the better the quality of prints you end up with and vice versa. Drop in quality due to fast speed is more noticeable in bigger build volumes as opposed to small prints. At the same time, you want to make sure the speed isn’t too slow either as this can cause stringing, again, impacting the progress and quality of your printing process.
By default, resin printers are slower than filament-based printers. That’s definitely something to bear in mind when choosing between the two.
The FlashForge Adventurer 3 earns the top spot as our Editor’s Choice, thanks to its sturdy, pre-assembled build, modern design, and handy features. We like how quickly it heats up. We also like that it is auto-leveled, has an auto-filament detector, and that both the nozzle and build plate are easy to detach and re-insert.
In second position is ANYCUBIC MEGA X, a model that stands out for its rigid metallic build. We like that it’s compatible with a range of filament materials. And we especially like how you can swap SD cards without first switching off the printer.
Our third best 3D printer under $500 is Creality Ender 3, which we like because of its high-tech extruder technology that ensures near-perfect extrusion. We appreciate how quickly it heats up and that it is power surge protected. One of its best features is that it comes partly assembled and is easy to use.